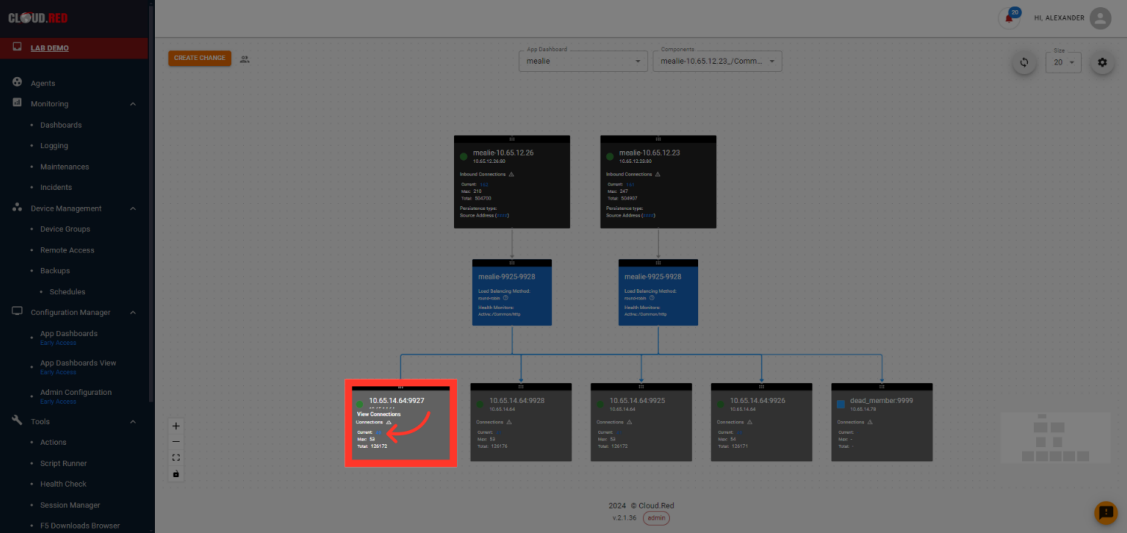
By granting access only to relevant applications, App Dashboards enable teams to operate more independently while maintaining overall system security and integrity.
Enabling App Dashboards
By Default, App Dashboards is not enable. Once the feature is enabled, it will poll virtuals and any configured sub components on all devices in that device group. App Dashboards will poll the device during the backup process or on demand. To limit impact on the devices, the discovery is performed sequentially.- To enable this feature, navigate to the “device management” Tab in the left-hand navigation.
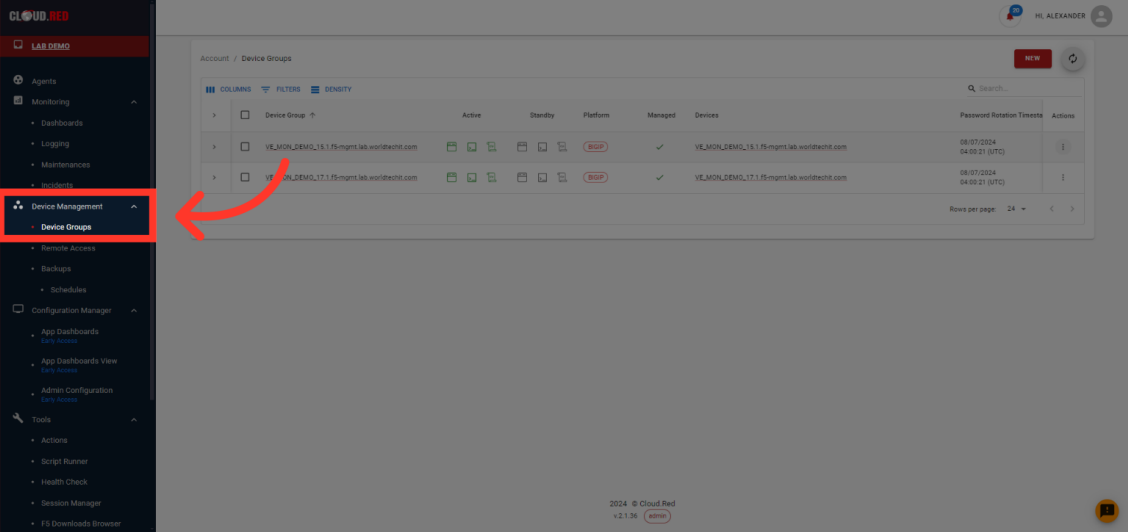
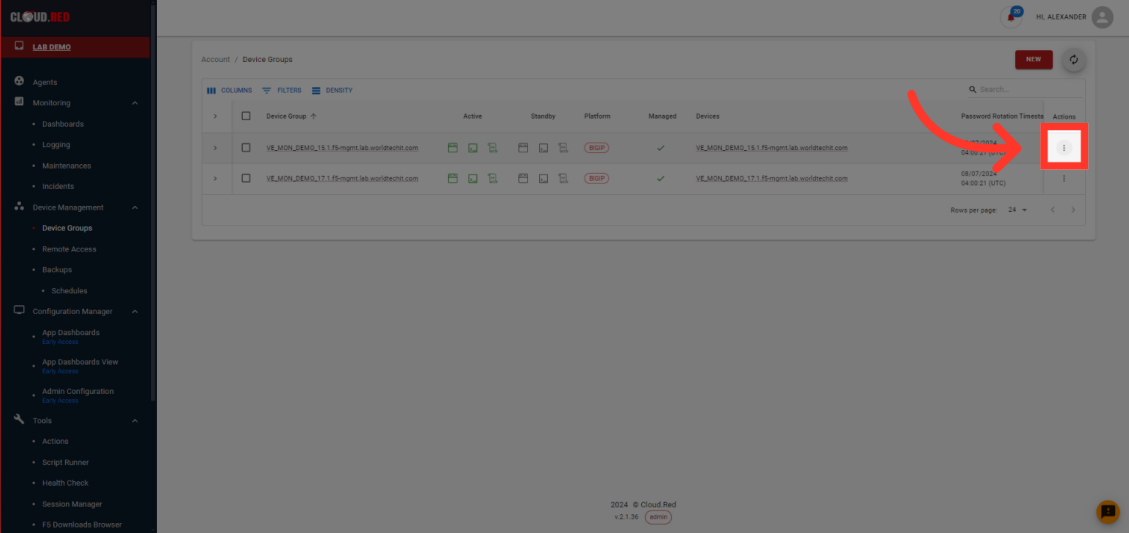
- Select actions for the device group intended to be enabled.
- Select the “App Dashboards Collection Tool”
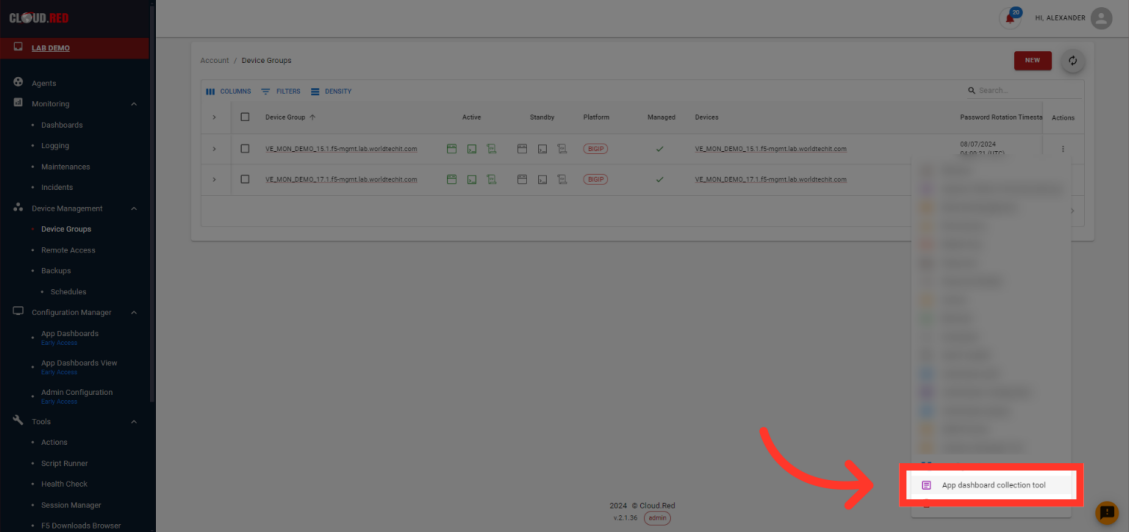
- Select Enable and sync to begin collecting the data for Application Dashboards.
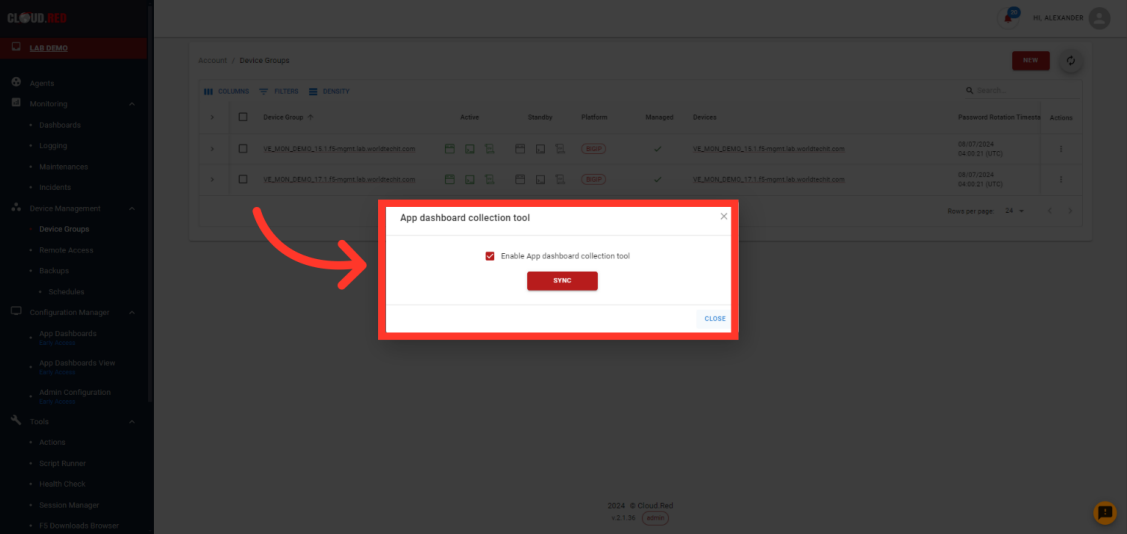
This action must be repeated for each device group that is intended to have App Dashboards enabled
Creating Custom App Dashboards
For Devices that have been enabled for the application dashboard feature, users can create dashboards for each application owner.These app dashboards will provide visibility into a collection of VIPs and related sub-components. Application owners may also have permission to modify specific aspects of the VIPs or sub-components, as needed.
- To create custom app dashboards, navigate to the “Admin Configuration” Tab in the left-hand navigation.
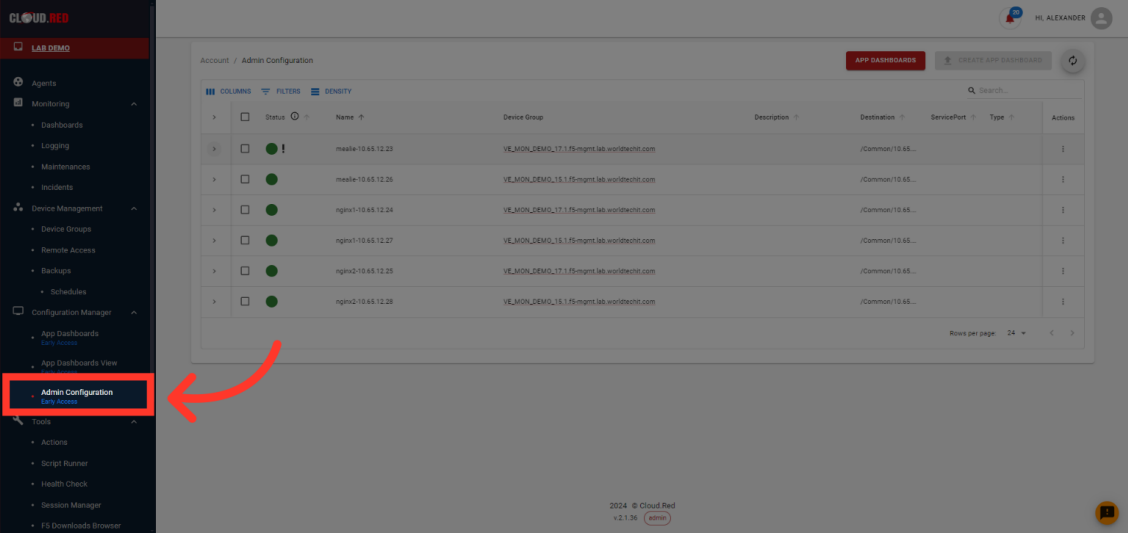
- In Admin Configuration, administators can view a list of all VIPs that are being poled. Administrators are provided the status, name, device group, a description, the destination, the service port, and type.
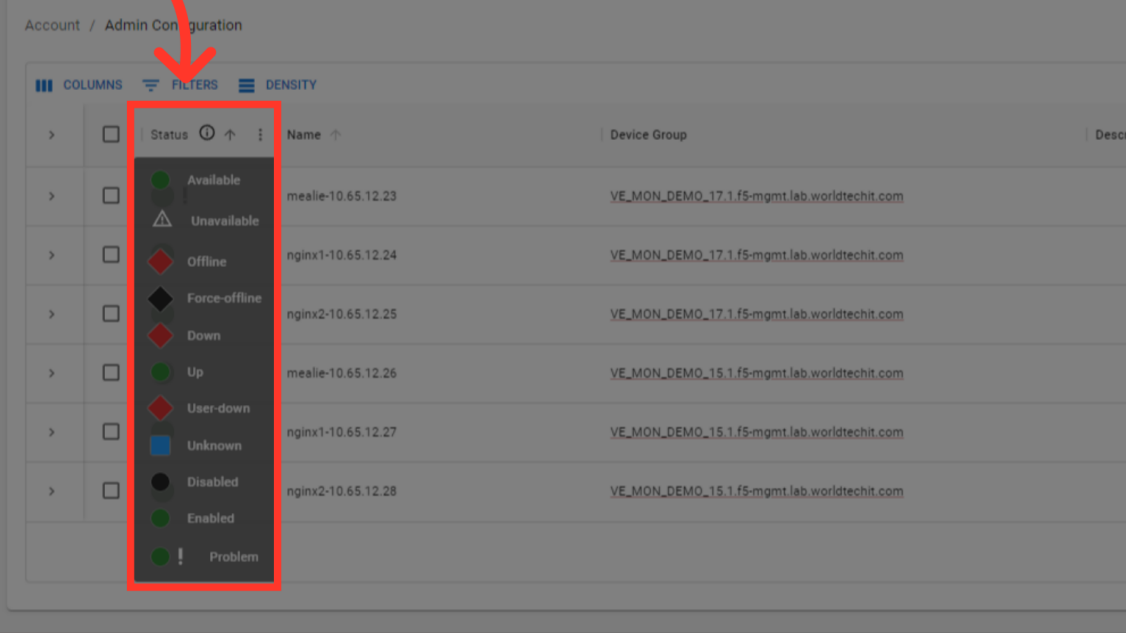
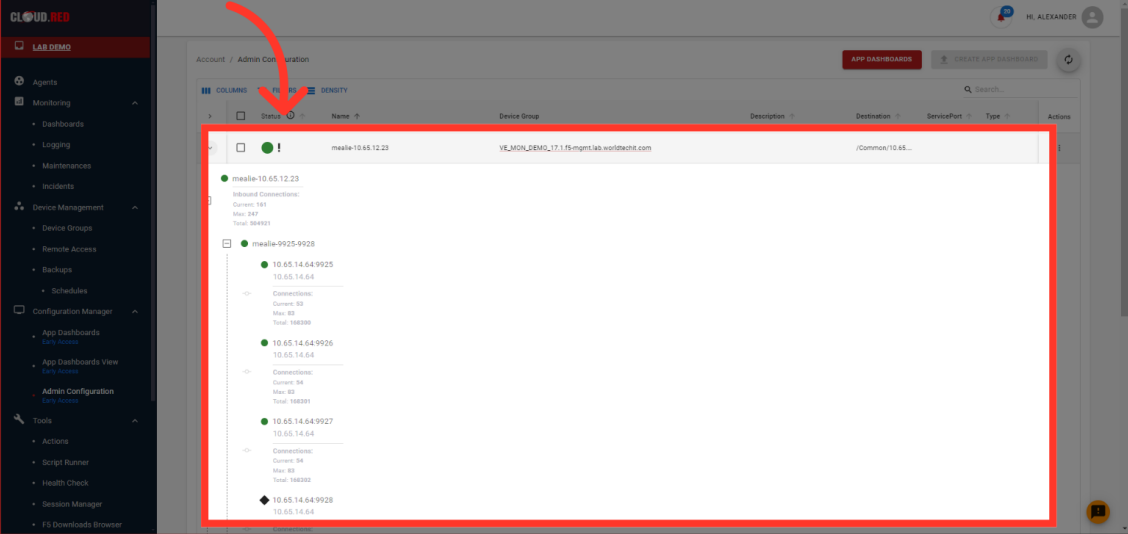
- By hovering over the information symbol next to status, all possible statuses can be viewed with the meaning of the status.
If a problem is indicated, it is caused by an underlying pool or pool member not beeing completely healthy.
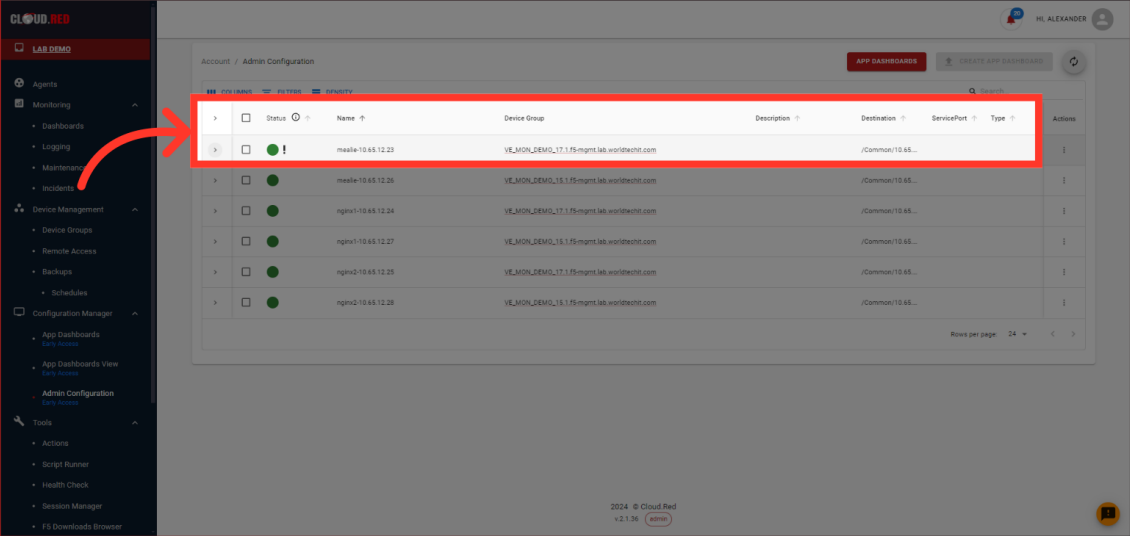
- To view more information about what is included in a vip, select the expand icon.
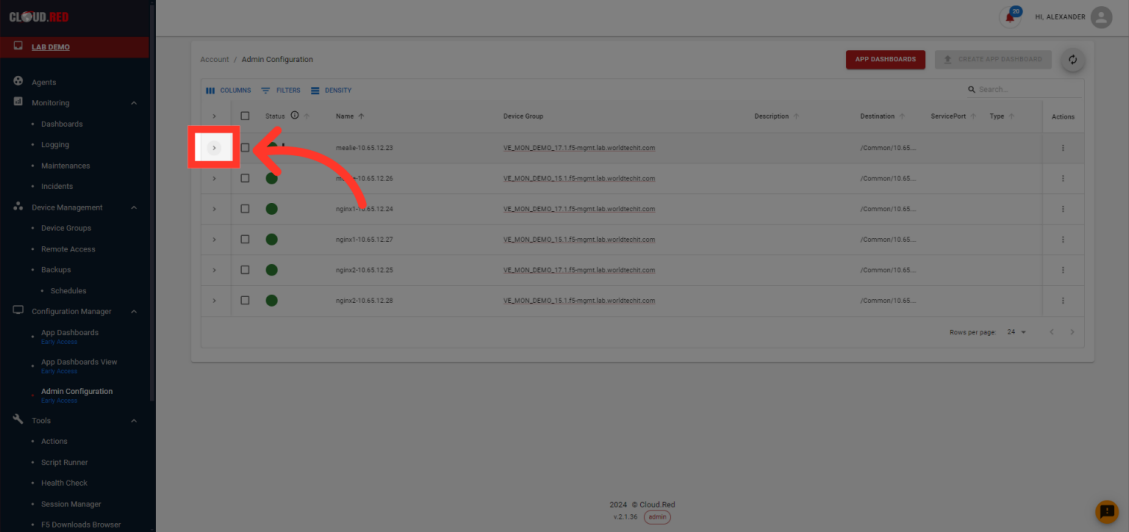
- When a VIP is expanded, a view of all associated pools and pool members is shown.
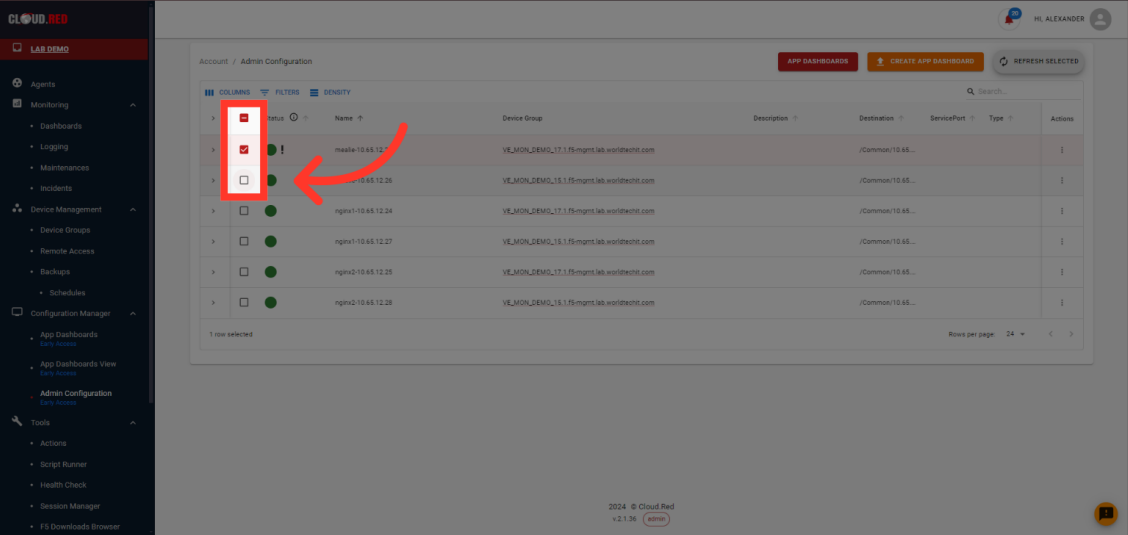
- To create a dashboard, select all VIPs intended to be included in the app dashboard. This can be one or multiple.
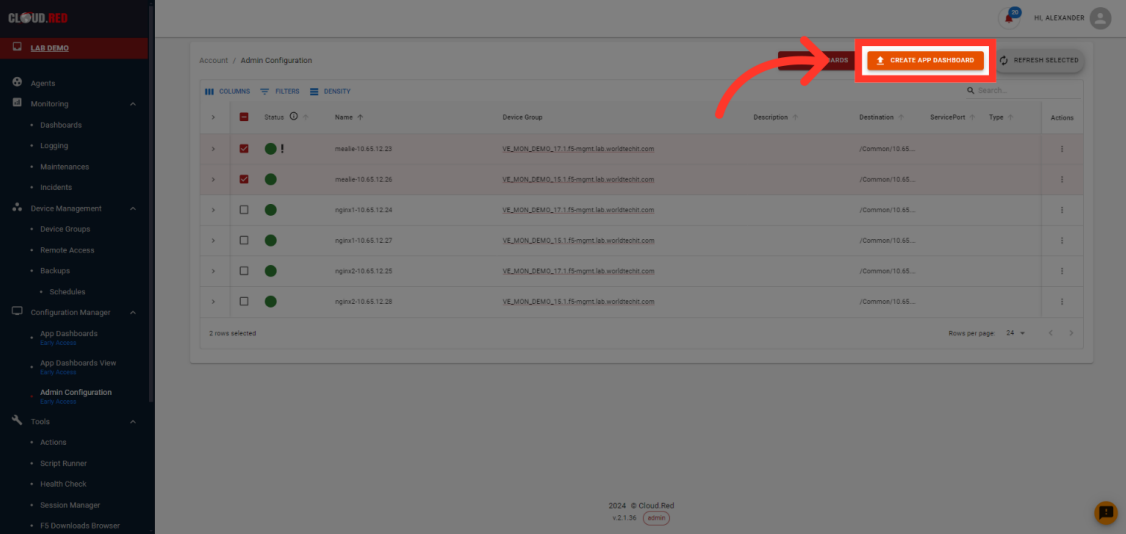
- In the top right, select create a dashboard.
- After providing a name and desciption, select create.
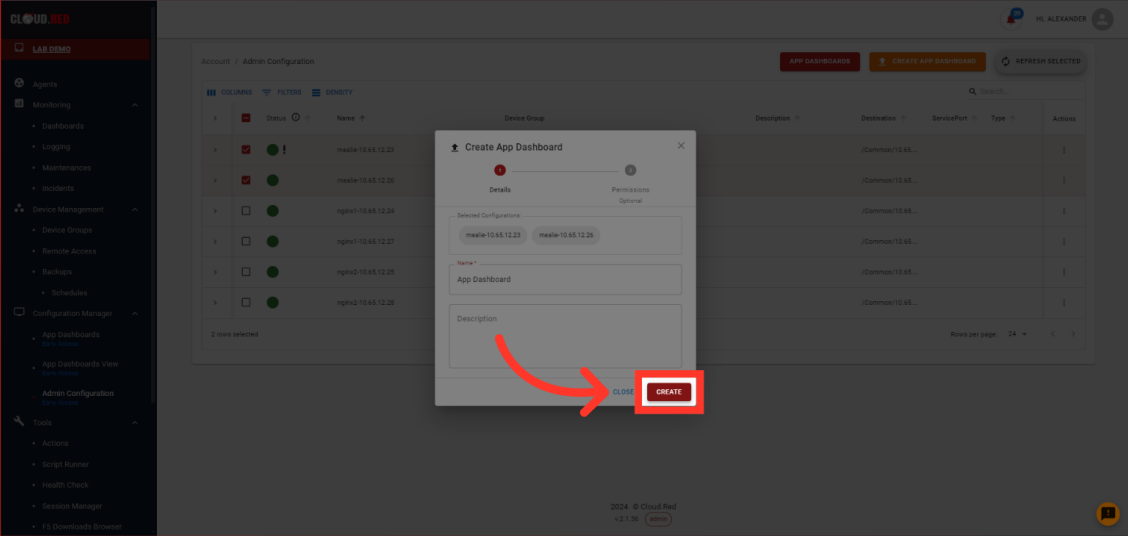
- By default, users WILL NOT have access to the dashboard. Provide all users that require permissions with the necessary role.
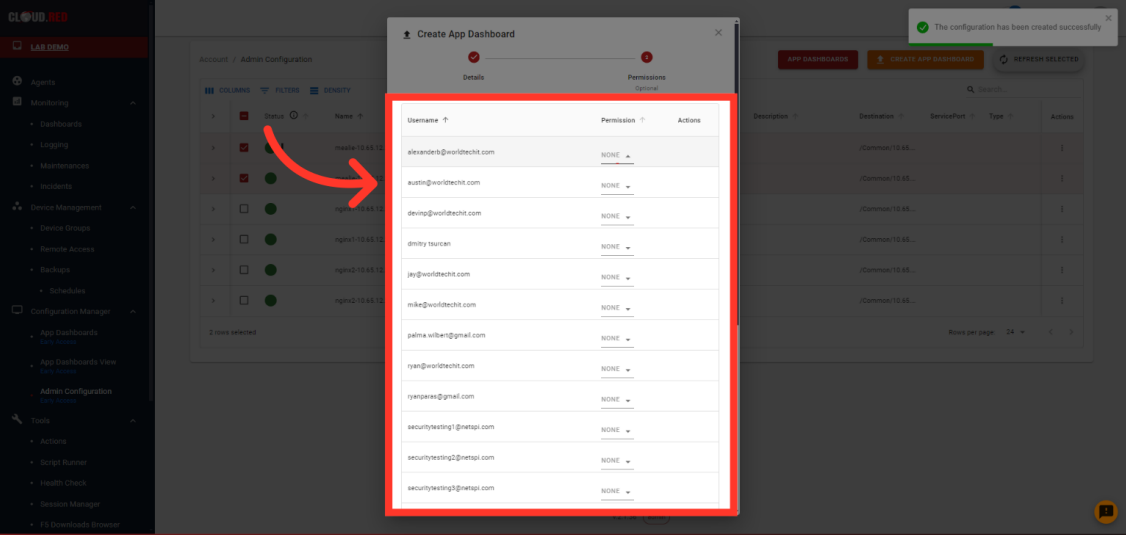
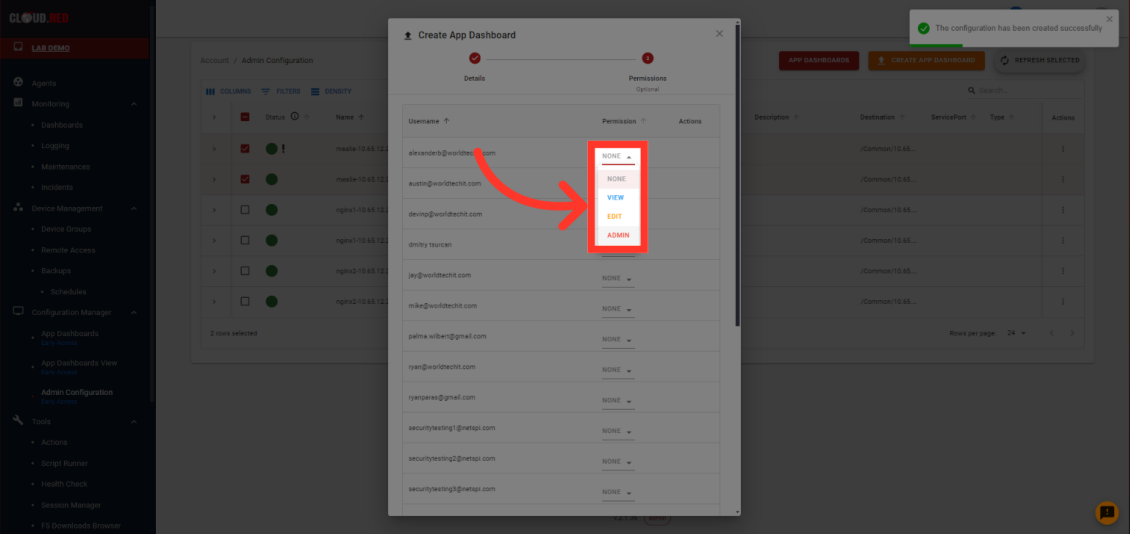
- Possible permissions levels are none, view, edit, or admin.
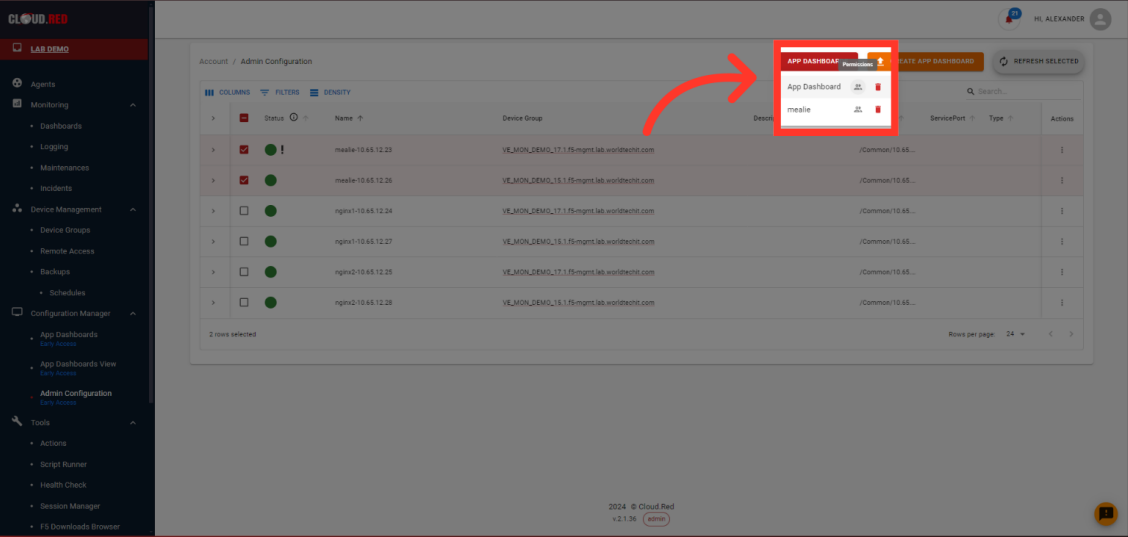
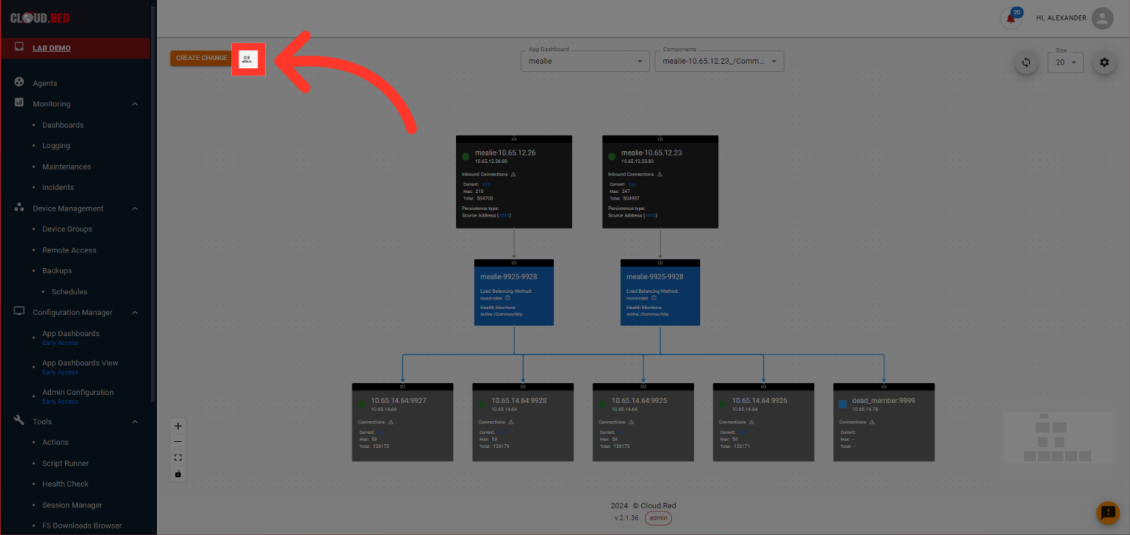
- To edit permissions of an existing dashboard, select app dashboards in the top right and select the permissions symbol.
- Additionally, admin users can edit permissions inside of the app dashboard.
Using App Dashboards
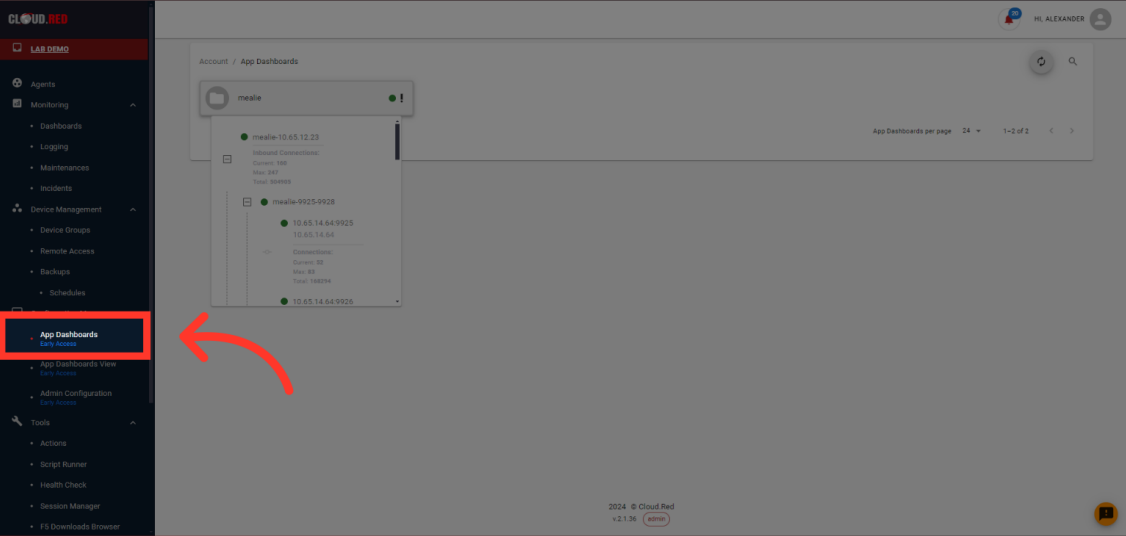
From the Application Dashboards, users have access to key information for their applications as well as granular control over key settings.- To use app dashboards, navigate to the “App Dashboards” Tab in the left-hand navigation.
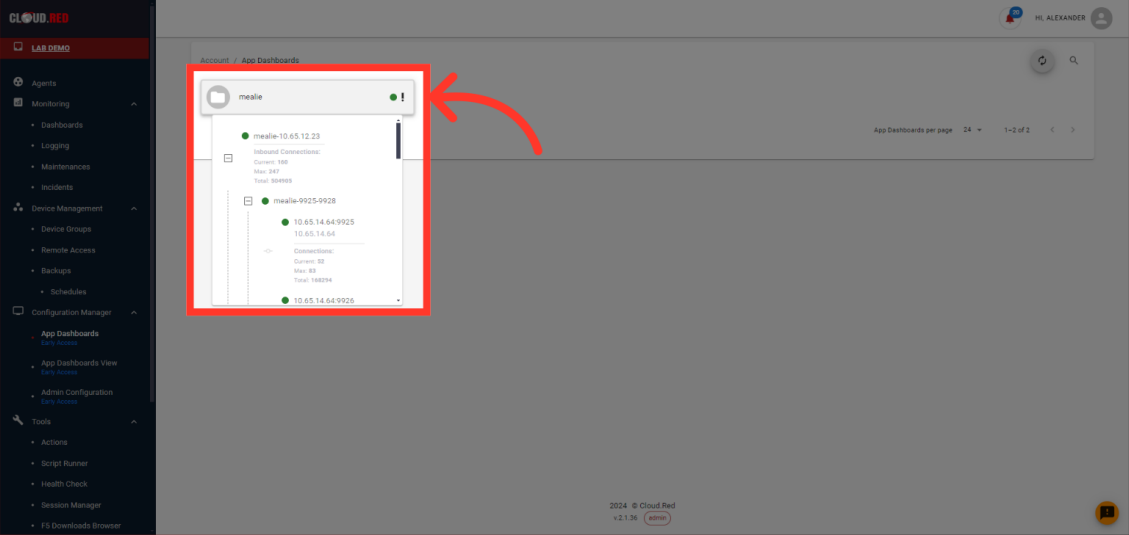
- Hovering over a dashboard will show an expanded view with the pools and pool members.
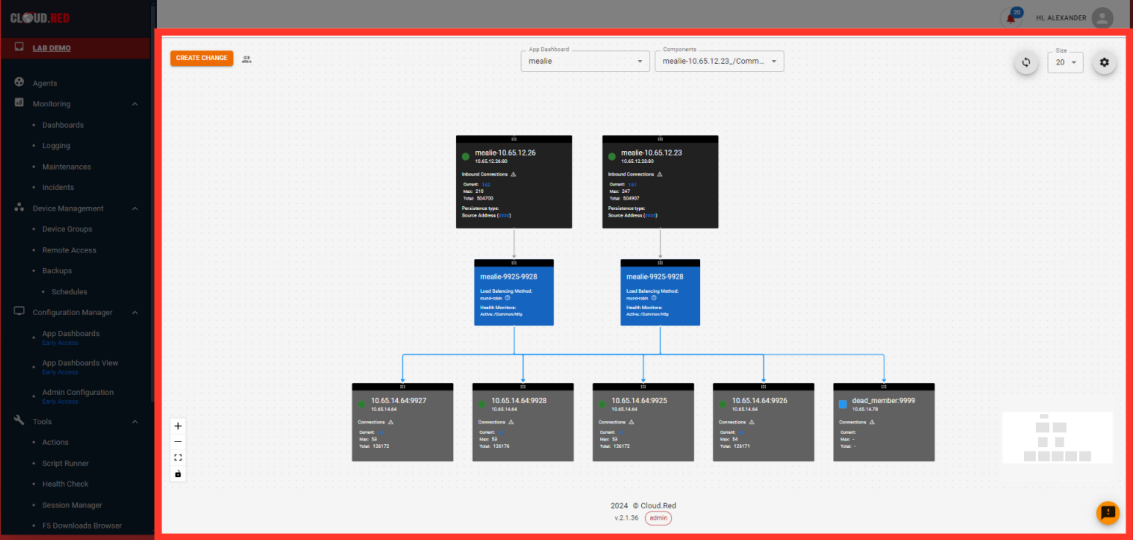
- After selecting a Dashboard, users can view all VIPs attached and have the capability to change it’s configuration.
- Edit permissions to the dashboard my selecting the permissions icon.

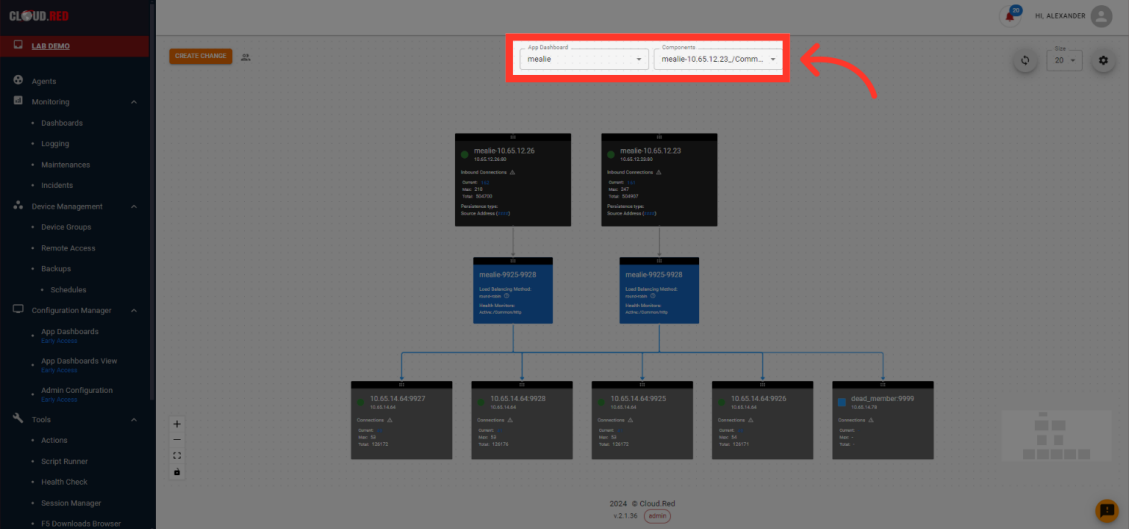
- Change dashboards or alter the currently displayed components of the dashboard using the App dashboards or components drop downs.
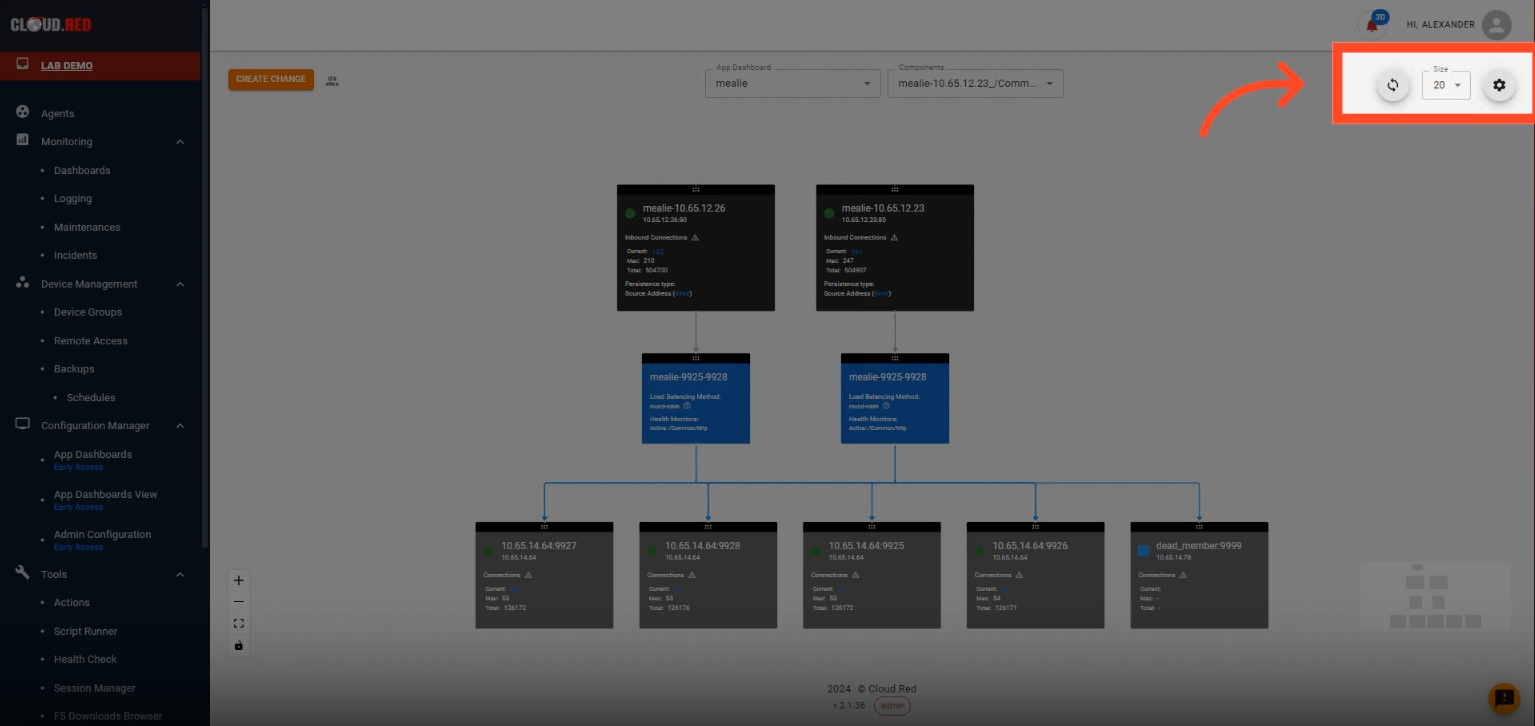
- In the top right, refresh the data, change the size, or pull up configuration controls for the dashboard.
Creating Changes to Applications
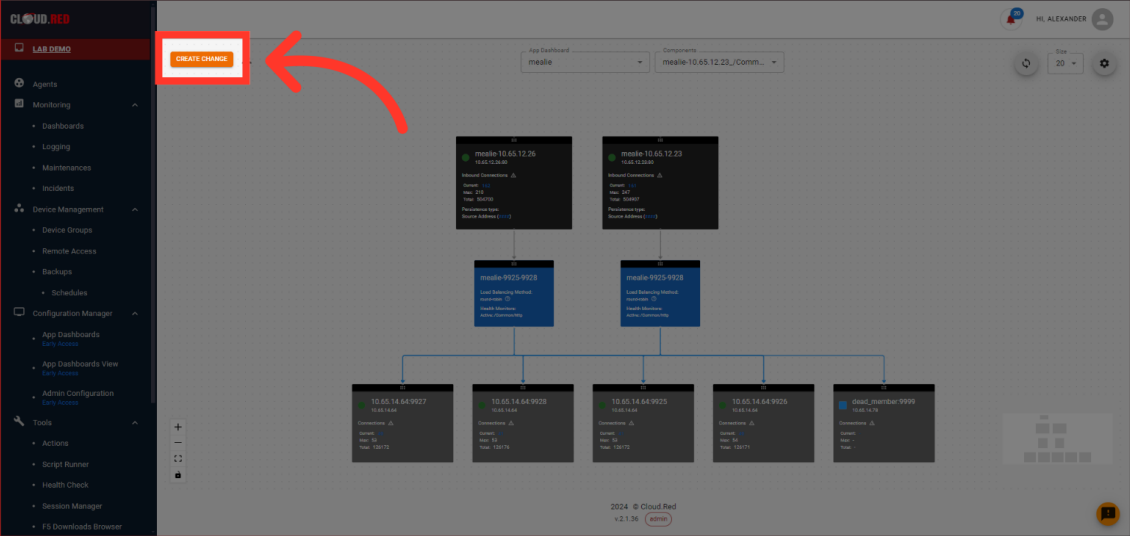
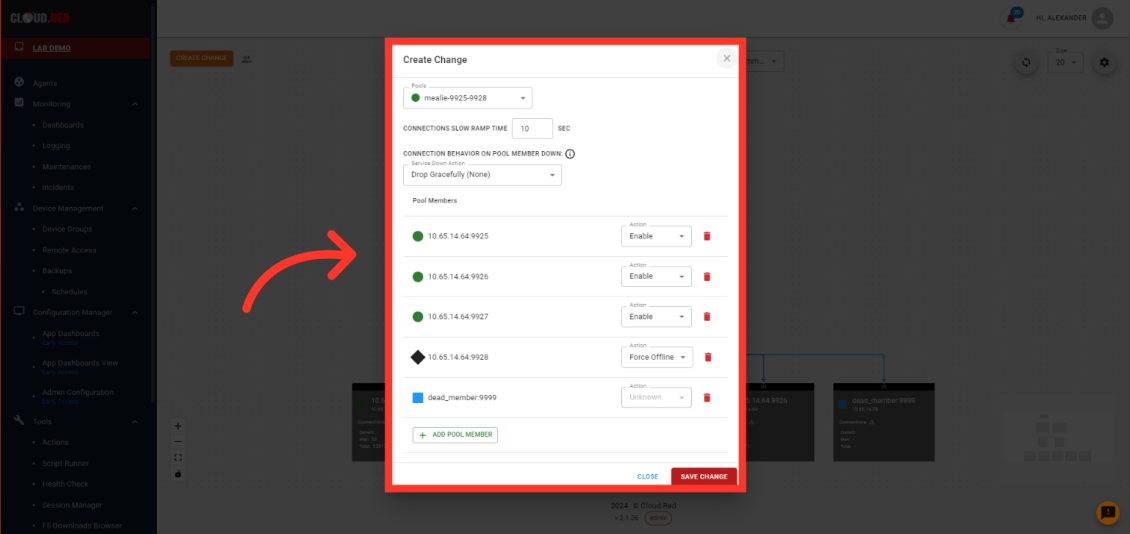
Users can quickly change the configuration of their pools by editing the slow ramp time or connection behavior on pool member down. Users are able to quickly add, remove, or change the state of pool members.- To edit the configuration, Select the “Create Change” button.
- From the create change model, the current status of slow ramp time, connection behavior on pool members down, and the status of all pool members is shown for the selected pool.
Editing Connections In App Dashboards
Users can quickly edit the connections of their applications for the entire virtual IP or for the individual Poll Member.- To view the connection of the virtual IP, select the displayed number of connections.
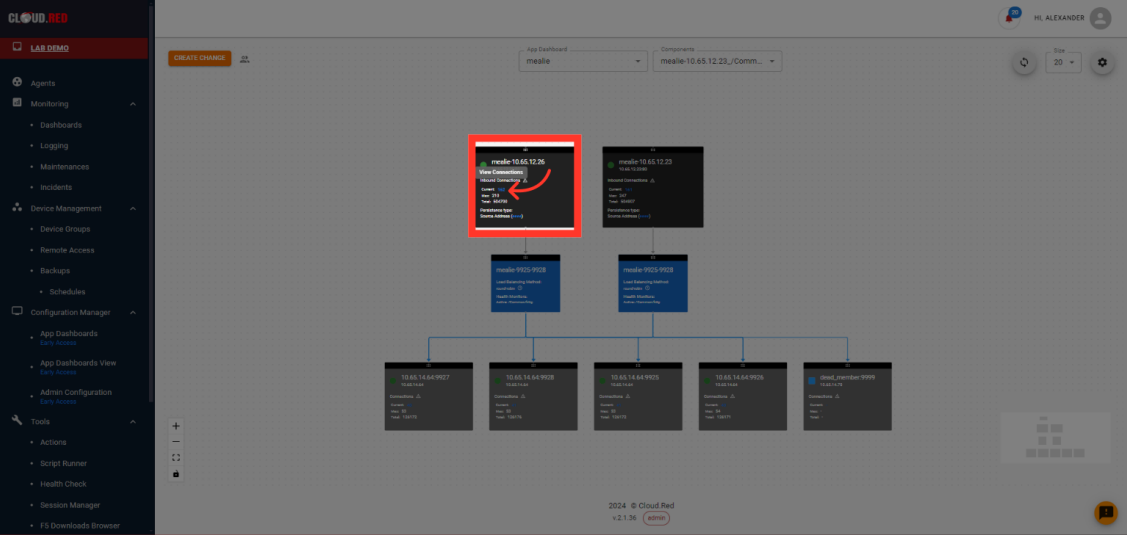
- A model containing active connections will be displayed.
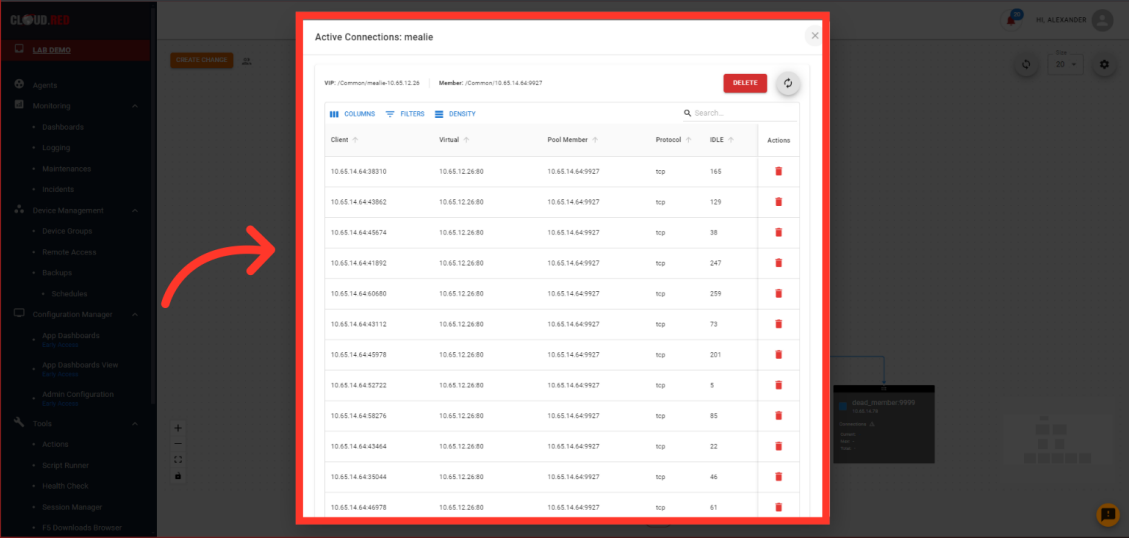
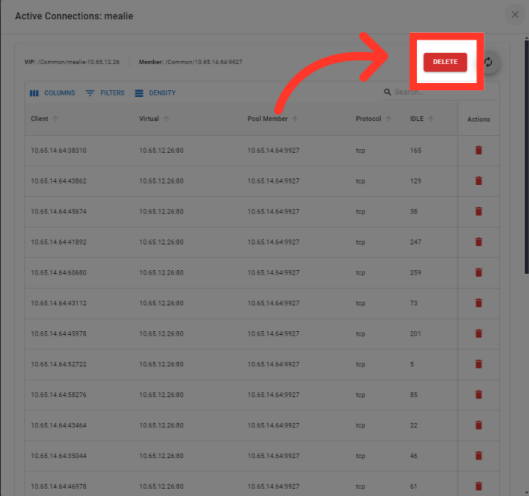
- Select the “DELETE” button in the top right to terminate all displayed connections.
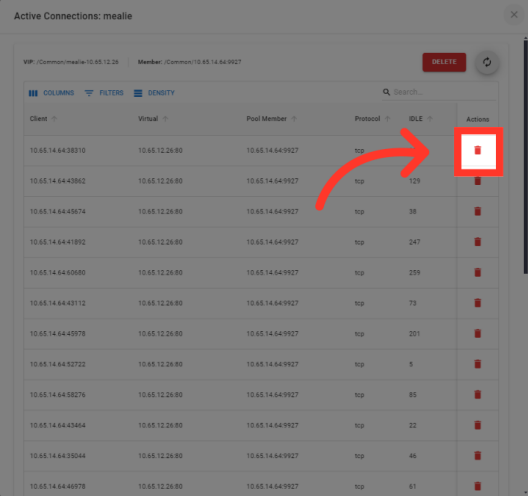
- Select the delete icon next to any connection to quckly remove individual connections.
- To view the persistent connections of the Virtual IP, select the displayed persistent connections next to source address.
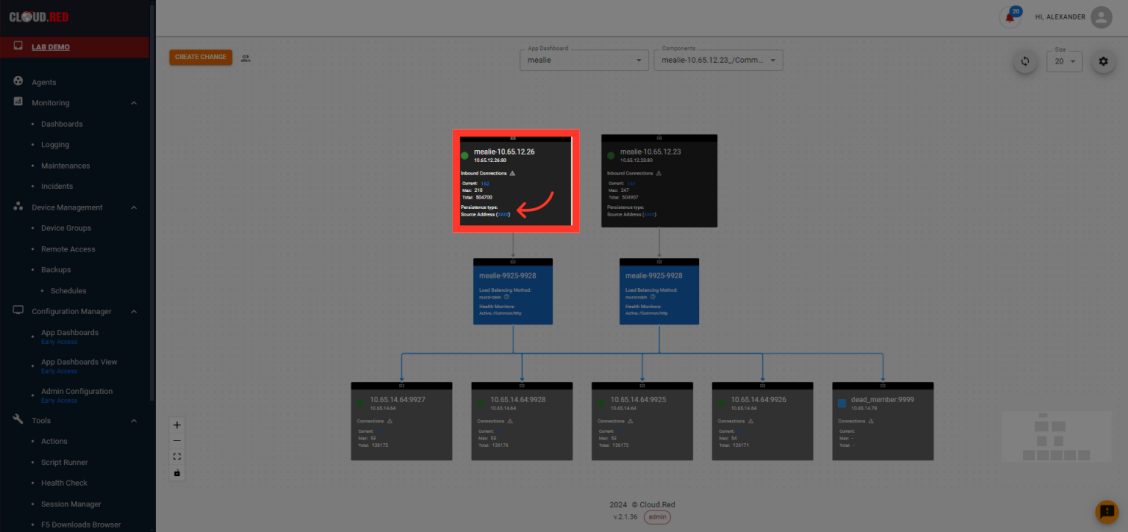
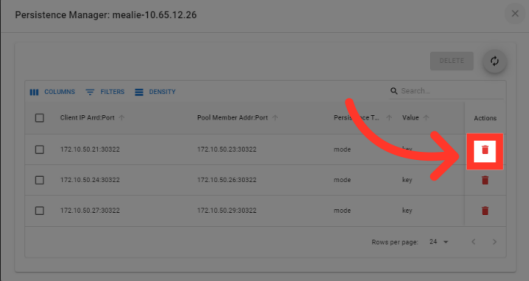
- Select the delete icon to remove individual persistent connections.
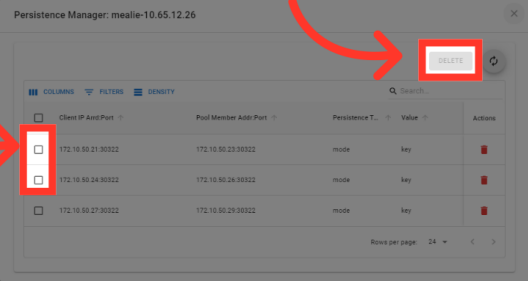
- Use the selection boxes on the left to remove multiple persistent connections at one time.
- To view the connection of an individual pool member, select the displayed number of connections.
