Accessing Cloud.Red
Cloud.Red is where you will access WorldTech IT’s purpose-driven apps for F5 and NGINX solutions.🌎 Access Cloud.Red through the Cloud.Red portal.
Signing in
New User
New User
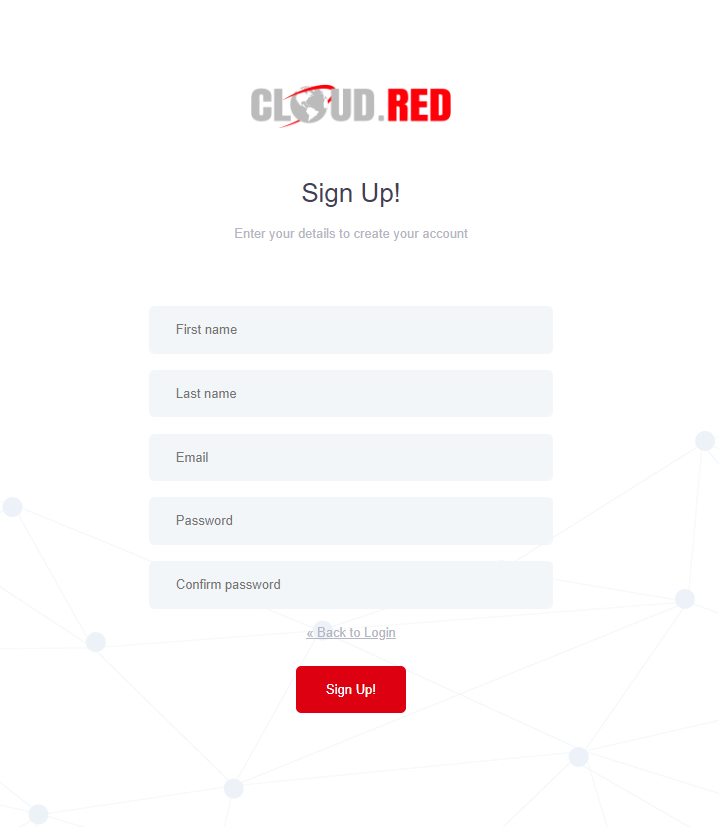
New users should look for the text that says, “Don’t have an account yet?” and will need to click the “Sign Up!”.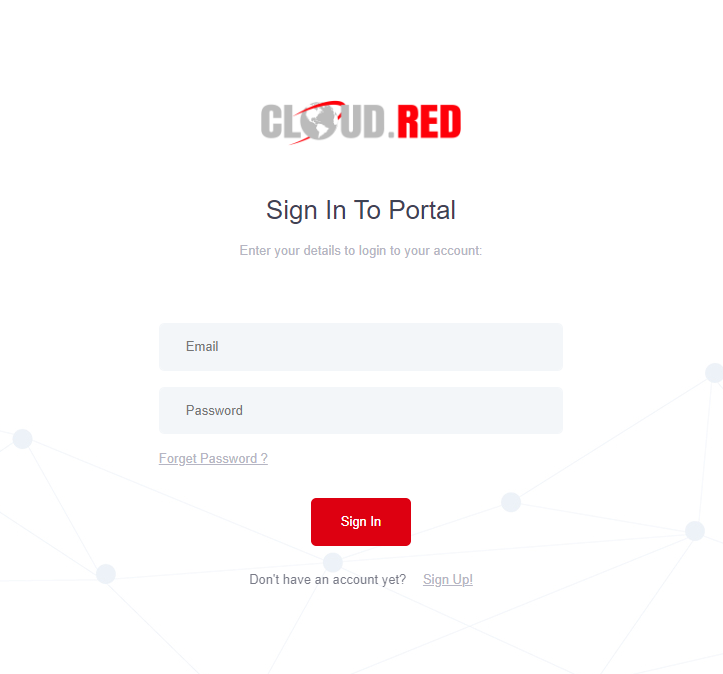


Existing User
Existing User
Existing users will need to provide their email and Cloud.Red the password in the provided fields and click the “Sign In” button.


Setting up MFA
Setting up MFA
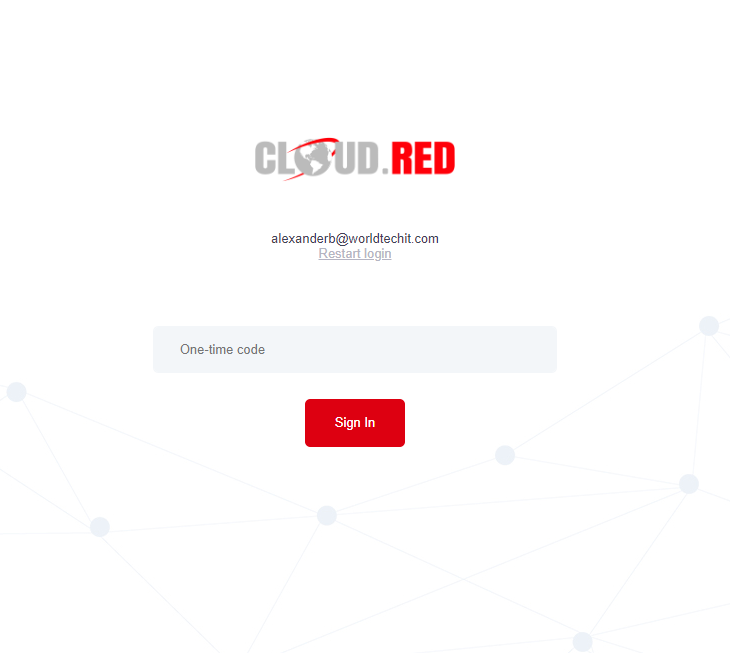
After verifying your email, you will be brought to a screen to set up your two-factor authentication. Scan the QR code into your authentication application, then provide the one-time code and the name of the device hosting the token.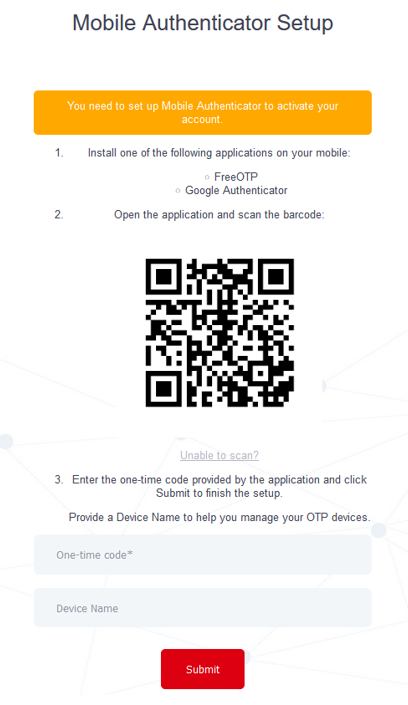

Sending and Accepting Invitations
Sending Invitations
Sending Invitations
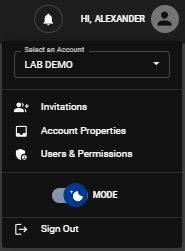
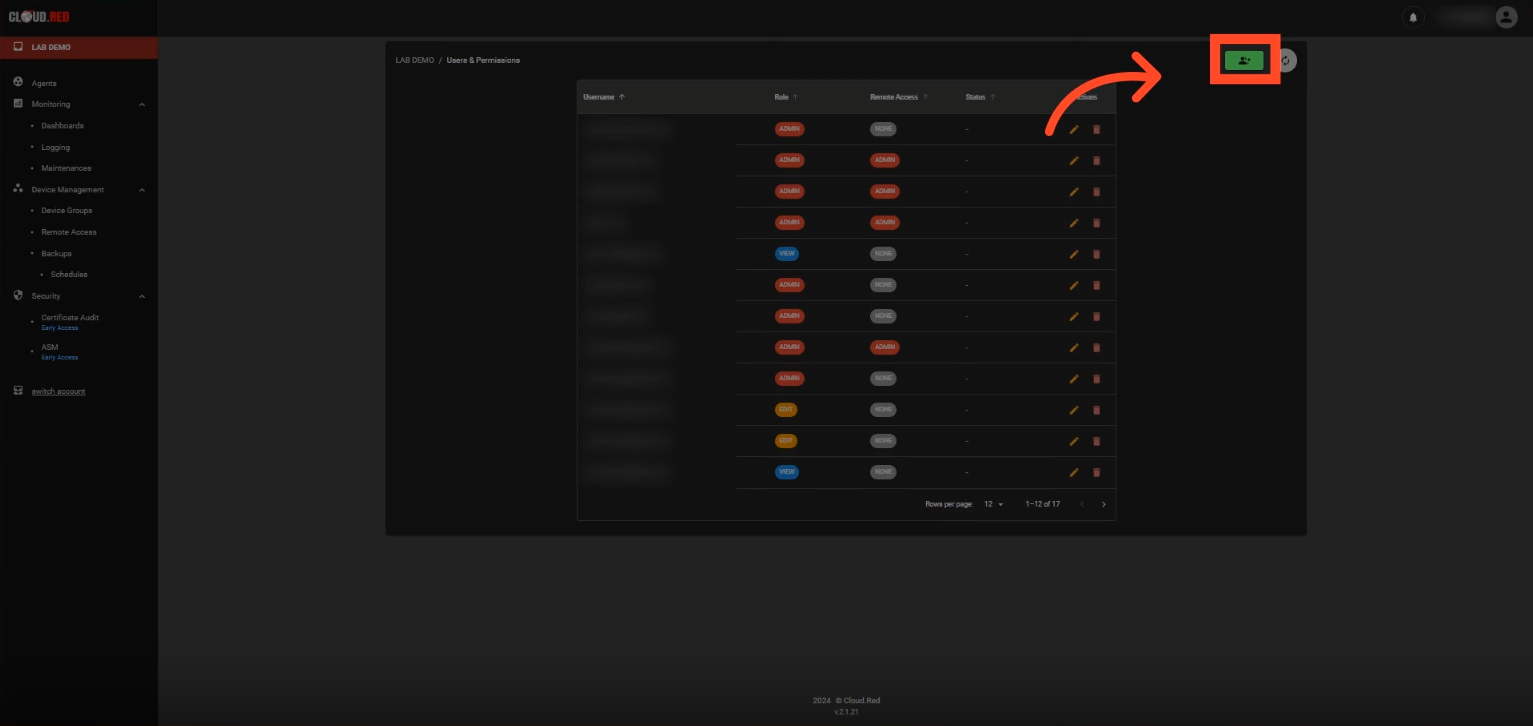
To invite user, access the upper right-hand navigation screen and select Users & Permissions.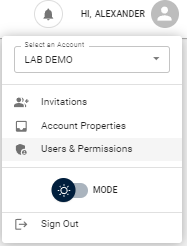


Accepting Invitations
Accepting Invitations
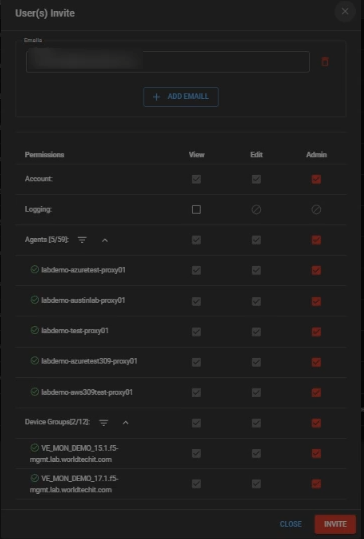
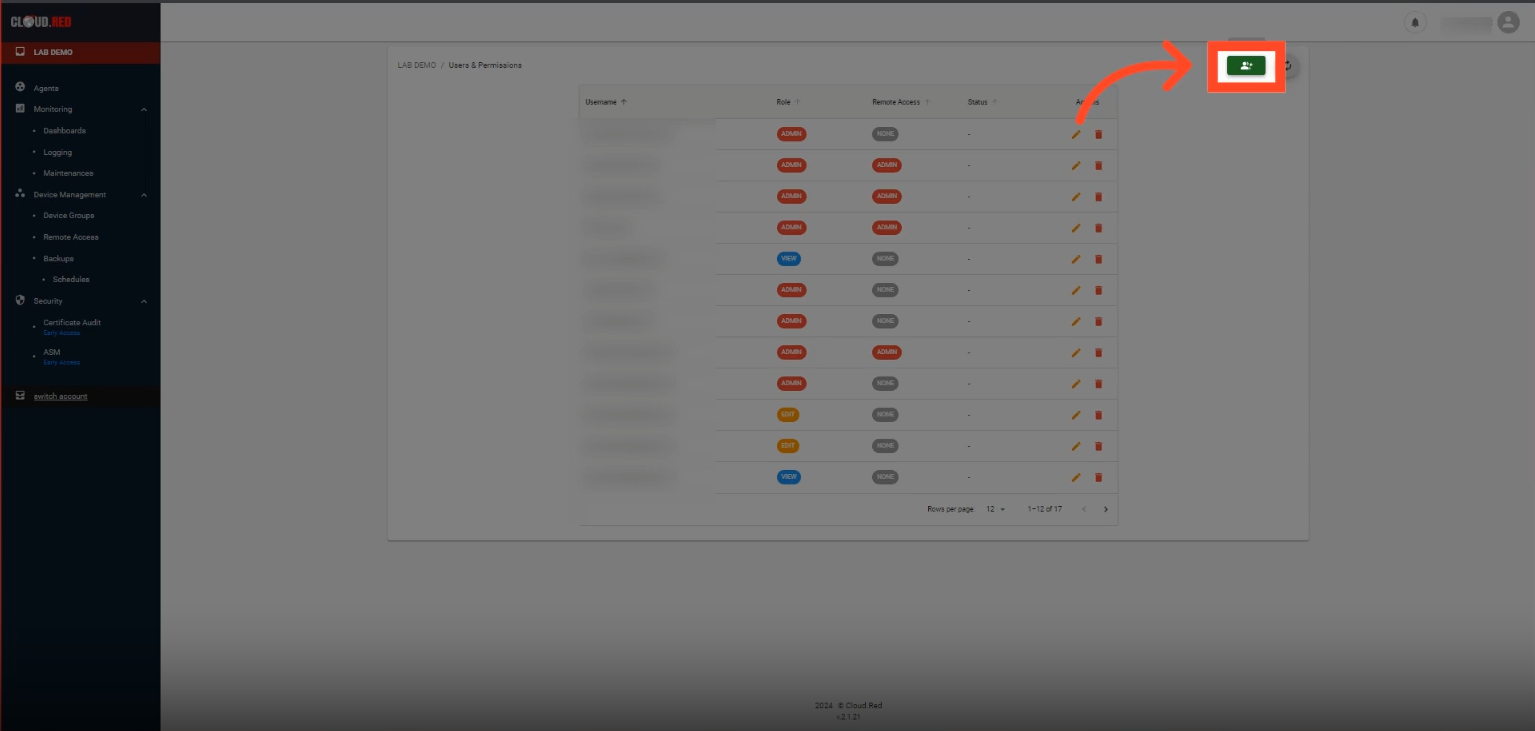
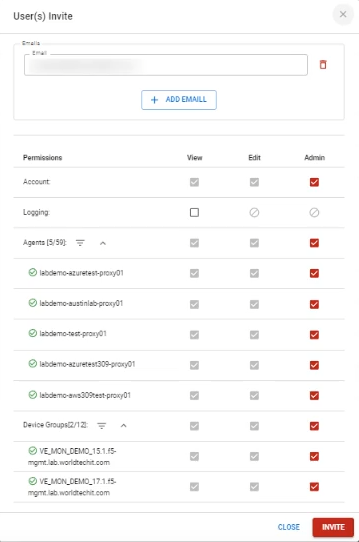
The invitation system is crucial in Cloud.Red. Account administrators can use invitations to invite other users with various access levels to their accounts.When first accessing the system, you will not have access to any accounts, and there will be little to navigate to in the system. You will need to be sent an invitation to the account from an existing account administrator or WTIT administrator.When an invitation is sent it can be viewed inside of Cloud.red, you will see this listed under the notifications icon in the upper right-hand corner of the screen. It looks like a red bell.When clicking this icon, the right pane expand with any pending notifications, including pending invitations. Click the green check box to accept the invitation and the confirmation pop-up.In addition, the invitation can be viewed by selecting invitation under the upper-right-hand navigation or via email.In invitations, under the actions column on the right side of the screen, accept the invitation by clicking the green button, decline by clicking the red button, or view details of the account and permission by clicking the gray button.To accept the invite via email, click the here shown in red on the email sent to the email address that was added to the cloud.red account.From the email, an extended version of the invitation can be viewed after logging into cloud.red.Cloud.red admin users may send invites to the account using the green button in the top right cornerAfter accepting the invitation – the left-side navigation items will appear.Note – your navigation items may appear different based on your permissions.
Accounts
Account Configuration
Account Configuration
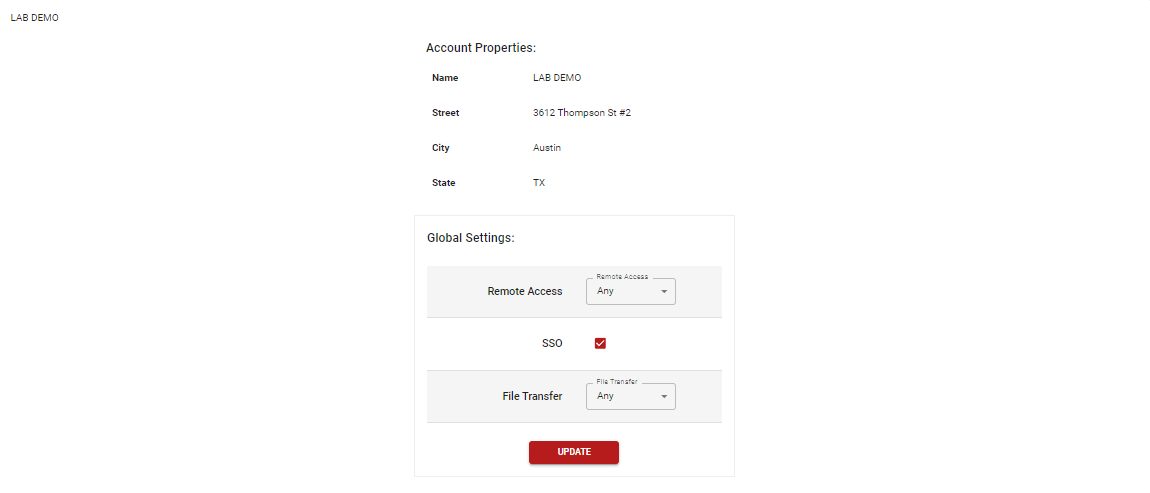
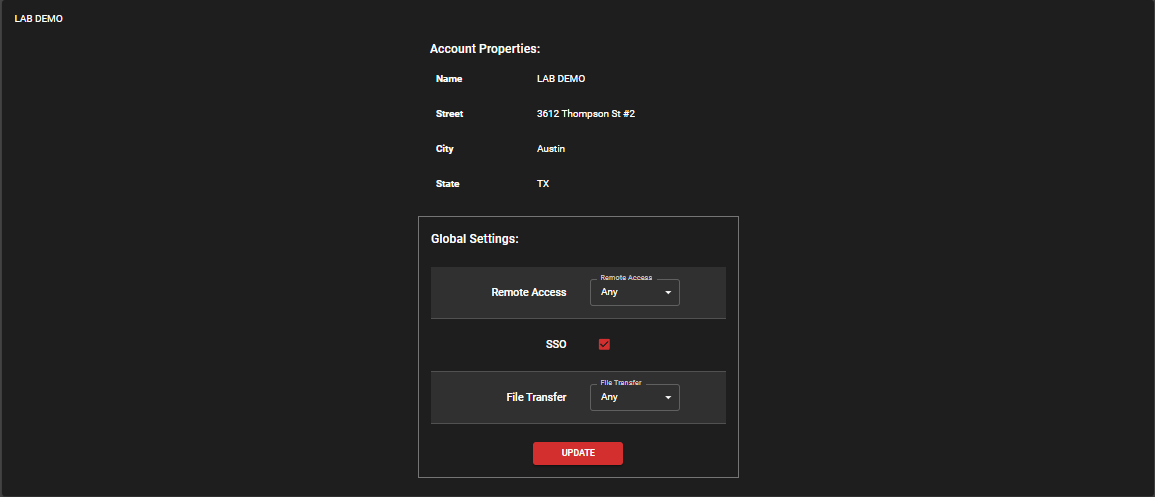
Access the account configuration view by using the upper right-hand icon and selecting account properties.
