
Requirements
- Must work with the WorldTech team to gain access to the required image
- Must be able to create a virtual machine in GCP
- Must have the needed firewall rules deployed allowing access to the internet, access to your managed devices, etc…
- Must have the agent names provided to you by WorldTech IT
Provide AWS ID
- Share your AWS ID with Worldtech IT.
- Please provide your AWS ID to your Worldtech IT project manager.
- To find your AWS reference the following:
Find Your AWS ID - Please await confirmation of the sharing of the AMI with your account by Worldtech IT.
Deploy the AMI from the AMI shared by Worldtech IT
After receiving confirmation that Worldtech IT has shared the AMI with your account:- Start in region US East (Ohio)
- Go to EC2 > AMIs, and select “CRAGENT300v3”
- Create a copy of the AMI, ensuring to select the region you need to deploy your instance to
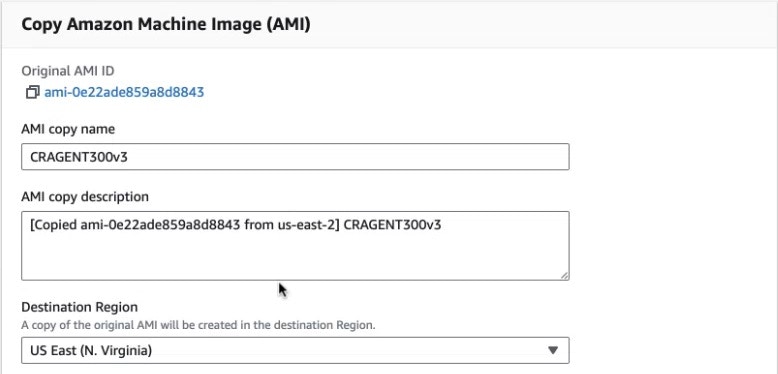
Note: It is important to confirm that the instance being created is created from this copy
Create the instance and configure the instance as appropriate for your environment.
Remember to account for the Agent Connectivity Requirements.It is important to confirm that the instance being created is created from this copy.
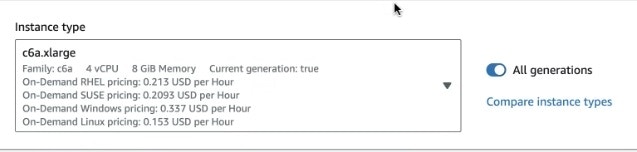
- Launch an instance from the copy of the shared AMI.

- Name the instance as appropriate for your environment. Select the c6a.xlarge instance.
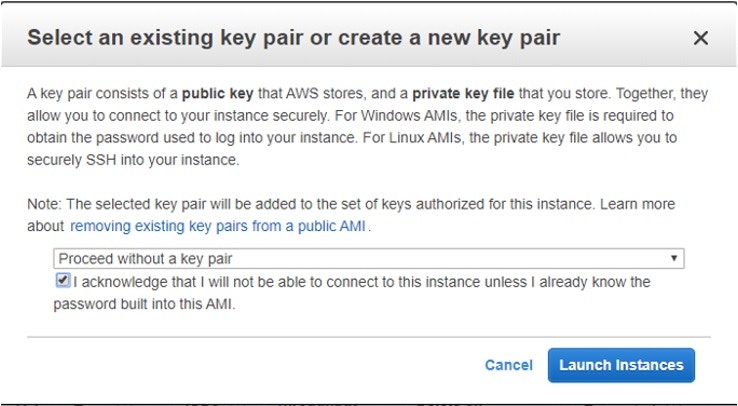
- When prompted, proceed without a key pair.
- Under configure storage section leave set as default.
- Outbound internet access is required. This can be facilitated via public IP, proxy, internet gateway, etc.
- If using a public address, ensure no public access is allowed to the agent.
- The shutdown behavior must be set to “stop”.
- Enable termination protection, to ensure the device is not accidentally terminated.
Registering the Cloud.Red Agent
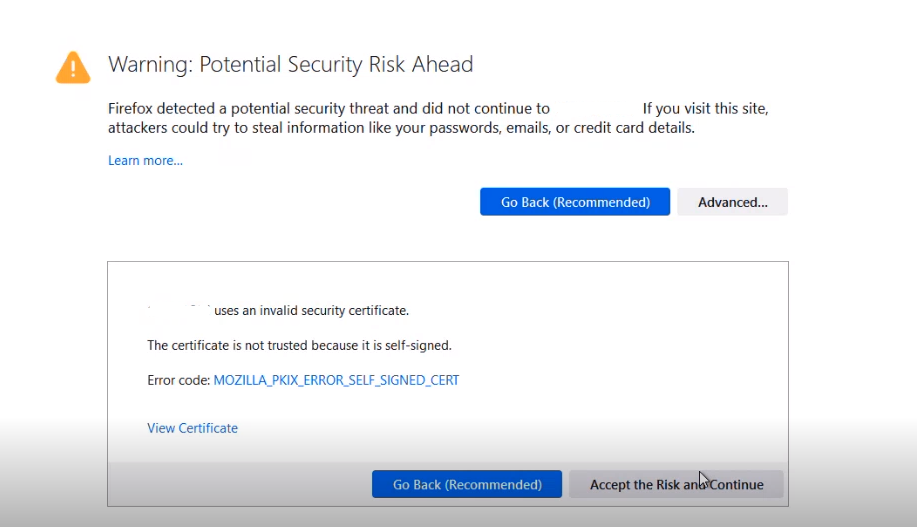
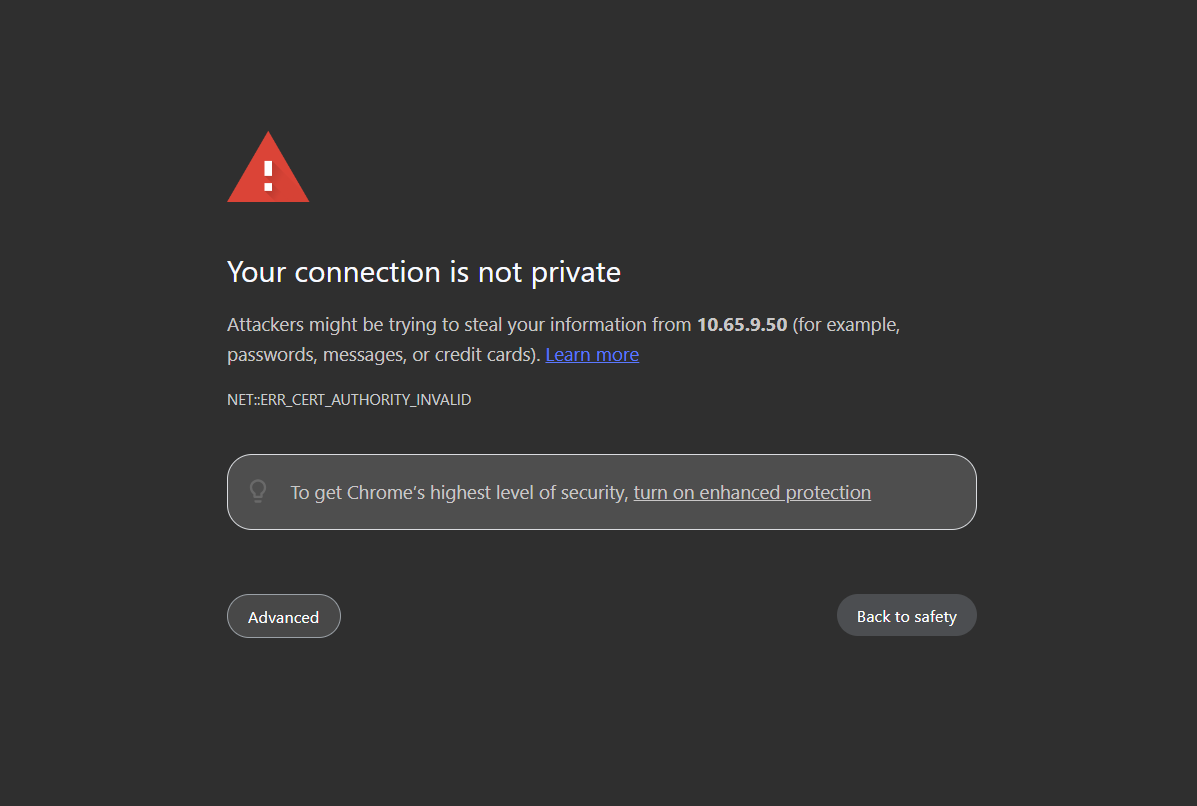
To register the device, all previous instructions must be complete and a user must be able to reach the agent’s private IP, over HTTPS on port 443, to register the Cloud.Red Agent.Connect to the Agent’s HTTPS Console
In your web browser, visit the IP address of your VM.

Continue Registration
Follow one of the following methods:Method 1 - Click Step 1’s Link
Method 1 - Click Step 1’s Link
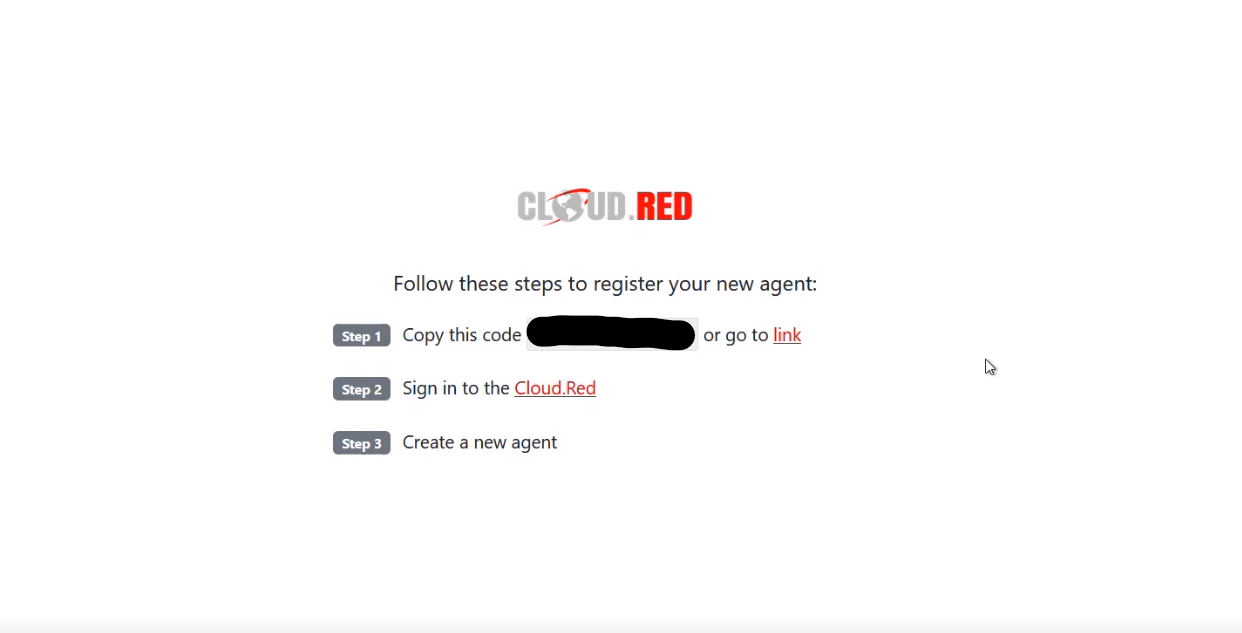
Click the link at the end of “Step 1”.
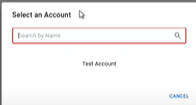
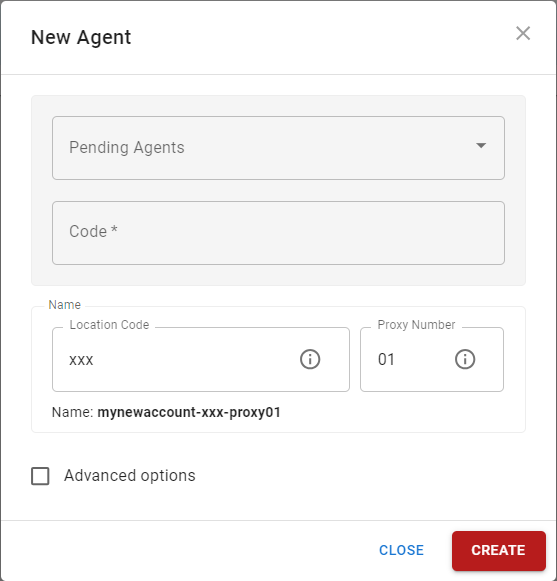
- You will be brought to the Cloud.Red Portal.
- Select your account.
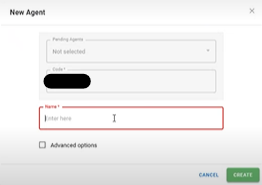
- The agent code will be auto-populated.
- Use the agent name provided to you by your WorldTech IT project manager.
Method 2 - Copy the Code and Create the Agent in the Cloud.Red Portal
Method 2 - Copy the Code and Create the Agent in the Cloud.Red Portal
Copy the code displayed in the middle of the registration page seen in step 1.Go to Cloud.Red and navigate to the agents tab on the left-hand menu.


- In the top right corner, click new.
- Paste the copied code.
- Use the agent name provided to you by your WorldTech IT project manager.
Please contact WorldTech IT to complete the installation.