
Requirements
- Blob file storage
- Blob file Storage container
- Permissions to create an Image
- Permission to create a VM from the image
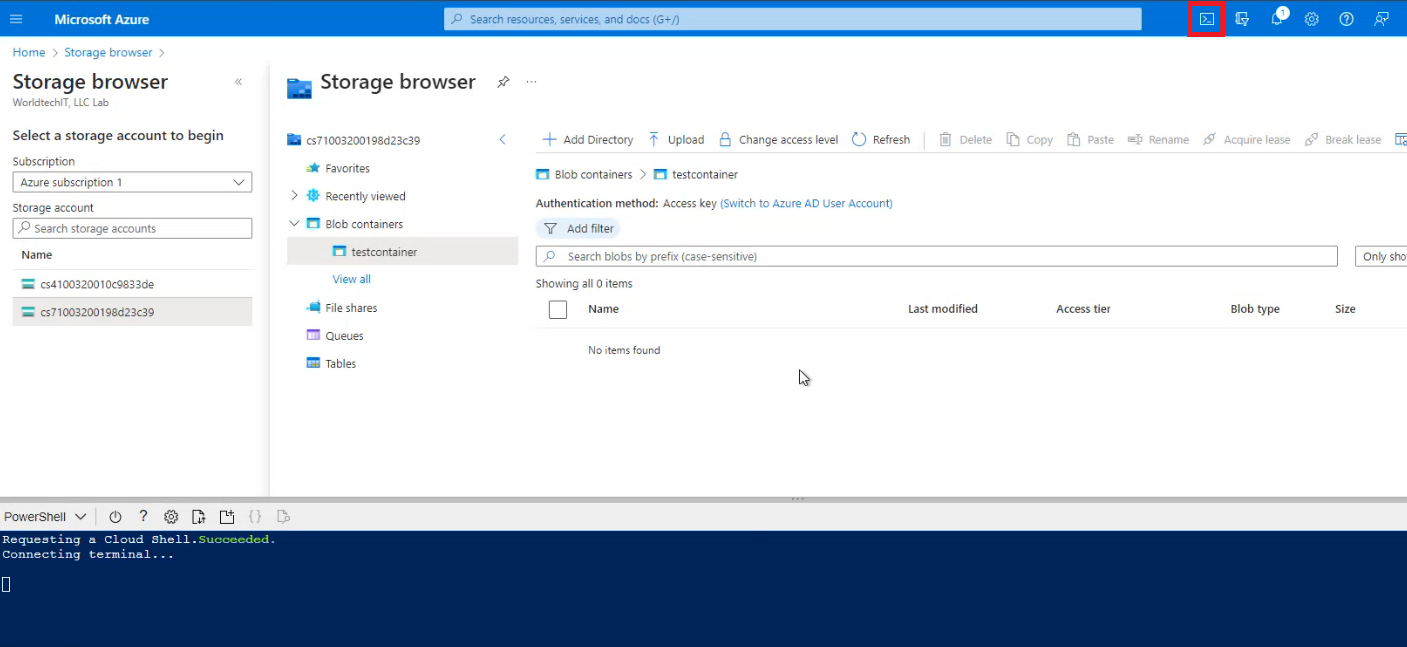
- Azure Cloud Shell access
Copying VHD to Blob Storage
Requirements - gather the required information to supply the following variables- CLIENT_STORAGE_ACCOUNT_NAME - Azure storage account, in the subscription, resource group, and location/region you intend on deploying the virtual machine instance
- CLIENT_BLOB_CONTAINER_NAME - Azure blob storage container, under the aforementioned Azure storage account
- URI_PROVIDED_BY_WORLDTECHIT - URI provided by WorldtechIT to download the VHD
You may need to consult your Azure administrator to ascertain the appropriate Azure storage account and blob storage container.
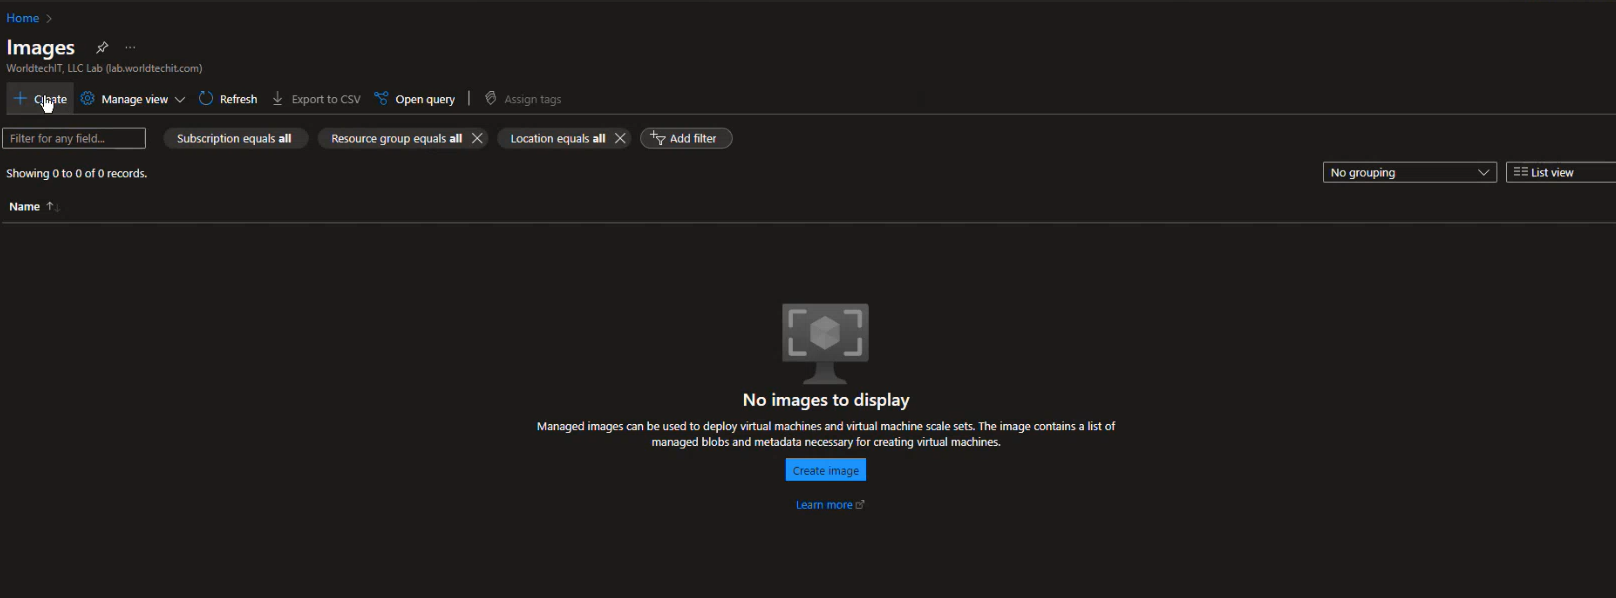
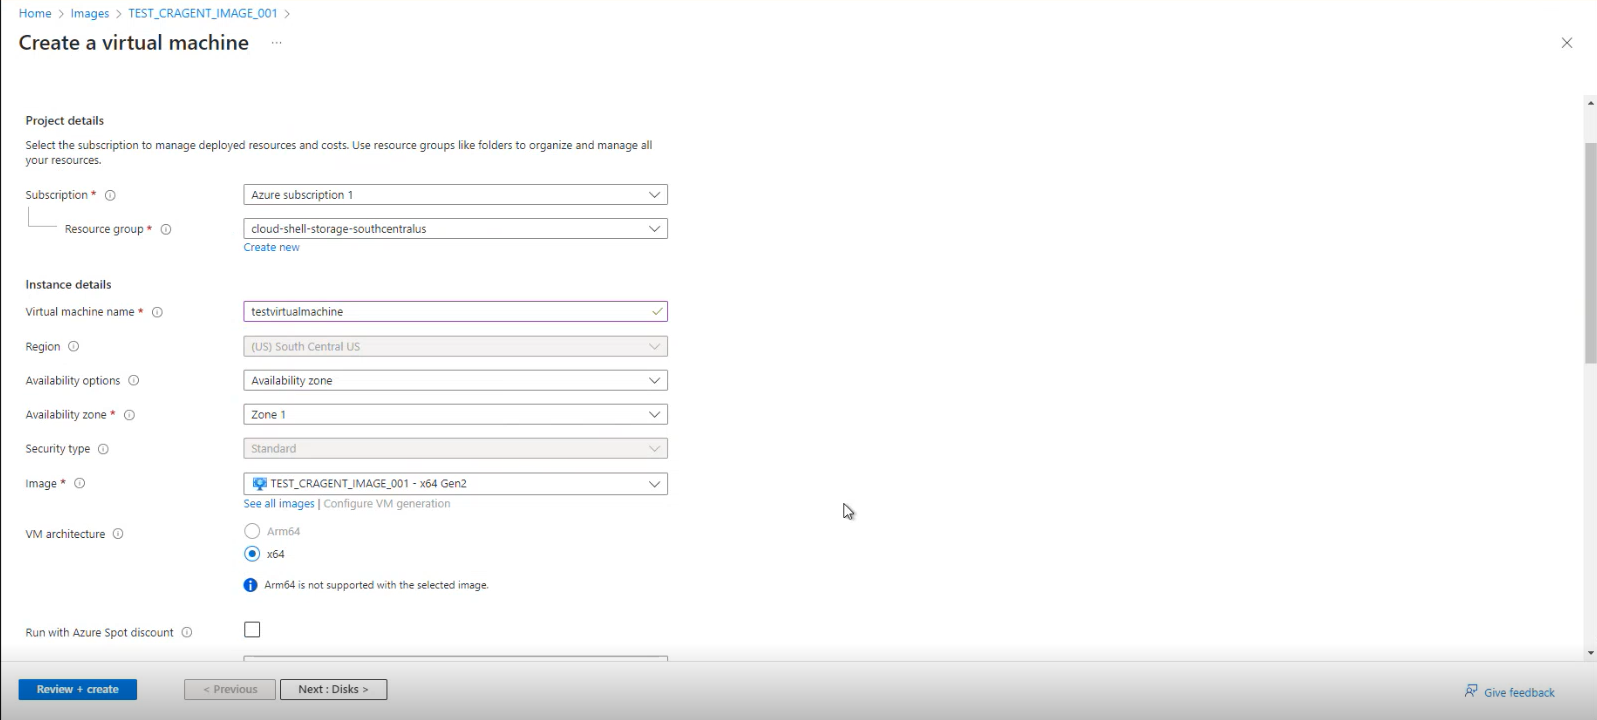
Creating the Image
In Azure Portal, lunch ‘Images’.Click Create
- Name the instance appropriate for your environment
- The Resource Group must where you intend on deploying the virtual machine instance
- The Region must match where you intend on deploying the virtual machine instance
- The OS type should be Linux
- The VM generation should be Gen 2
- Under Storage Blob, select the previously used storage account and blob and select the CRAGENT_300.vhd file
- The account type should be standard SSD
- Host caching should be read/write

- Finish Creating the Image.
- When complete, click “Go to resource”

Creating the Virtual Machine Instance
From the created image, create the the Virtual Machine Instance.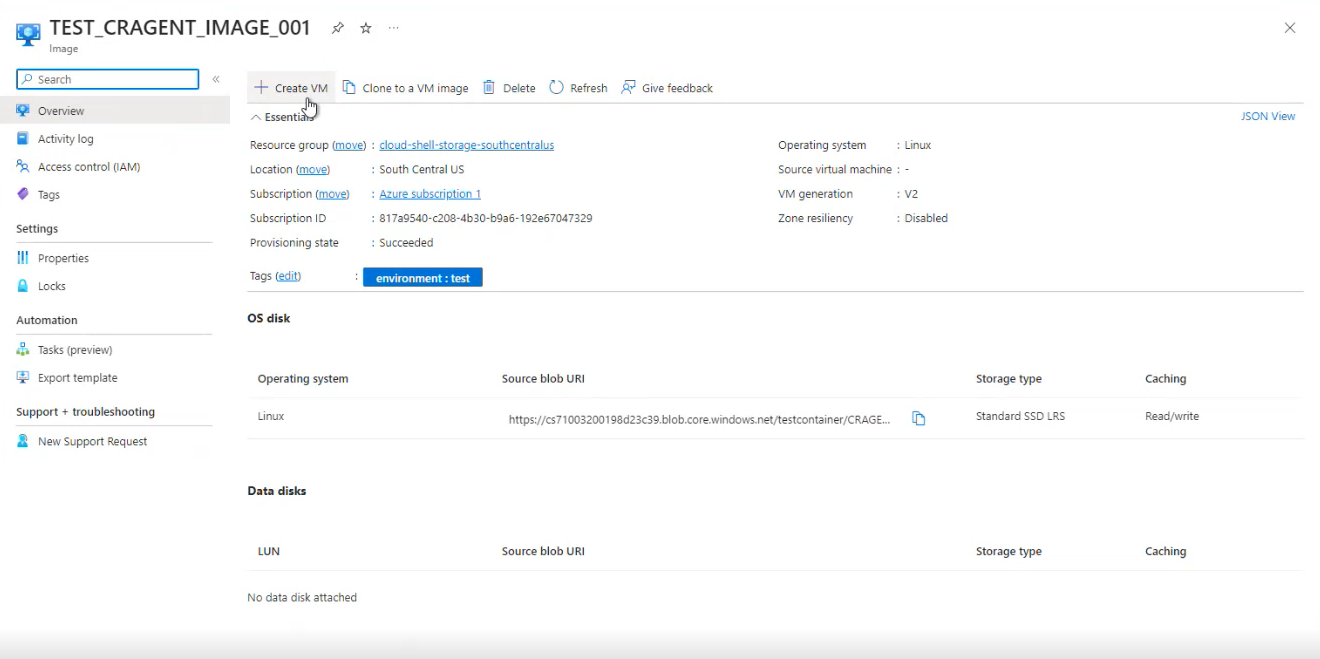
For the creation, note the following:
- Name the VM however is appropriate for your environment
- The region will be set to where the image was created
- Set the availability zone to whatever is best for your environment
- Confirm the Image selected is the image created above
- The VM architecture must be left as x64
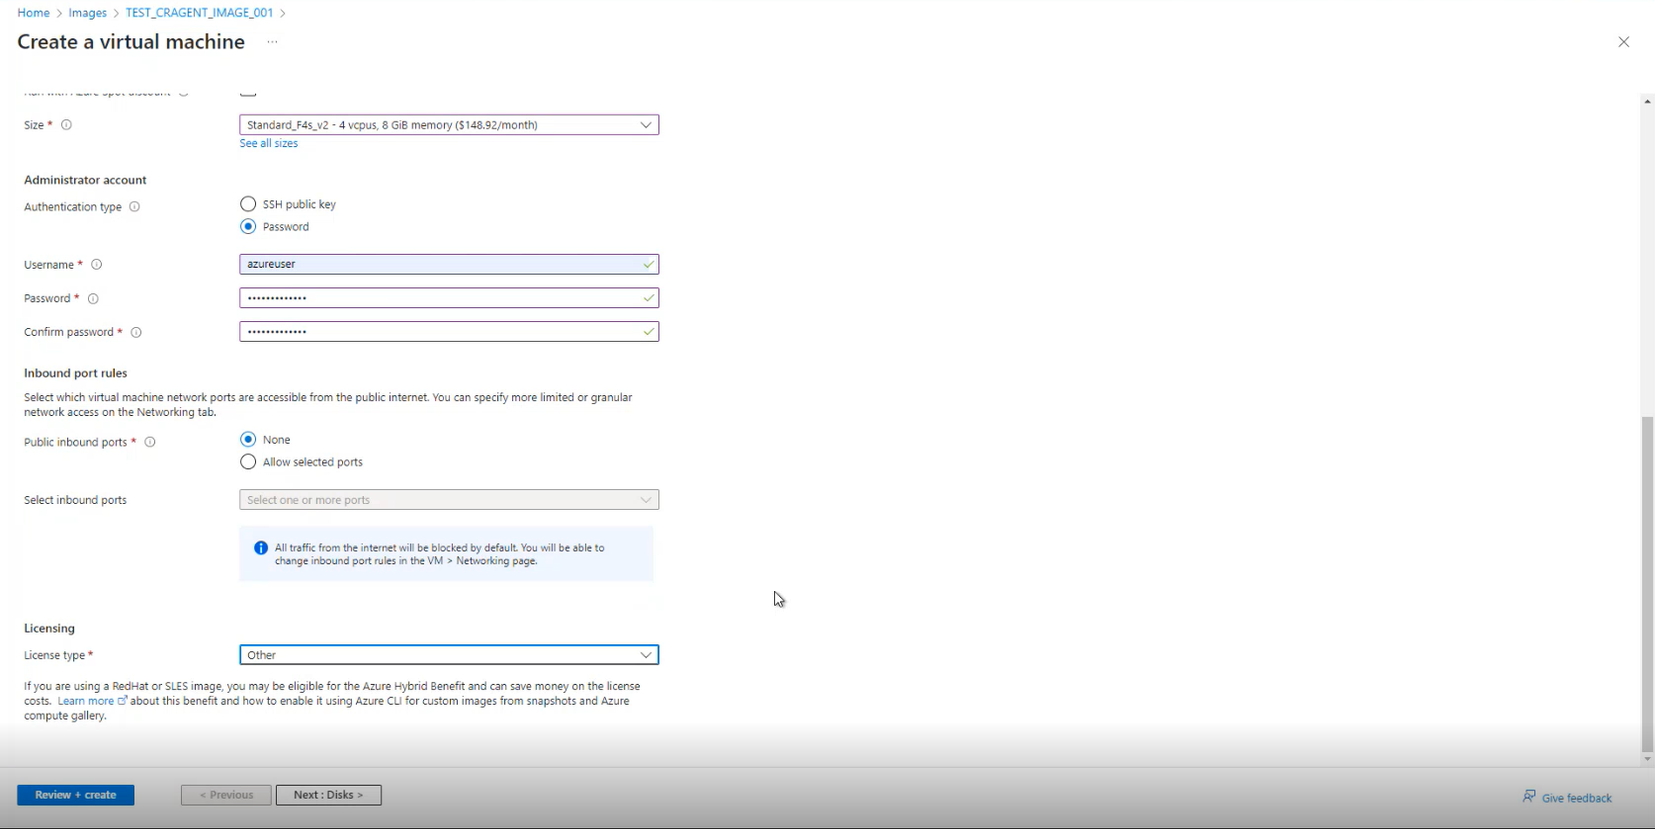
- For the size, select Standard_F4s_v2
- The Authentication type must be set to Password
- The username must must be set to azureuser
- The password can be set to anything you like
- Note - this account will not be usable after the installation is complete
- Public inbound access is recommended to be set to none
- The license type should be set to other
Please note - it is important that you do not add any data to the Custom data nor the User data area in the Advanced section.

Registering the Cloud.Red Agent
To register the device, all previous instructions must be complete and a user must be able to reach the agent’s private IP, over HTTPS on port 443, to register the Cloud.Red Agent.Connect to the Agent’s HTTPS Console
In your web browser, visit the IP address of your VM.

Continue Registration
Follow one of the following methods:Method 1 - Click Step 1’s Link
Method 1 - Click Step 1’s Link
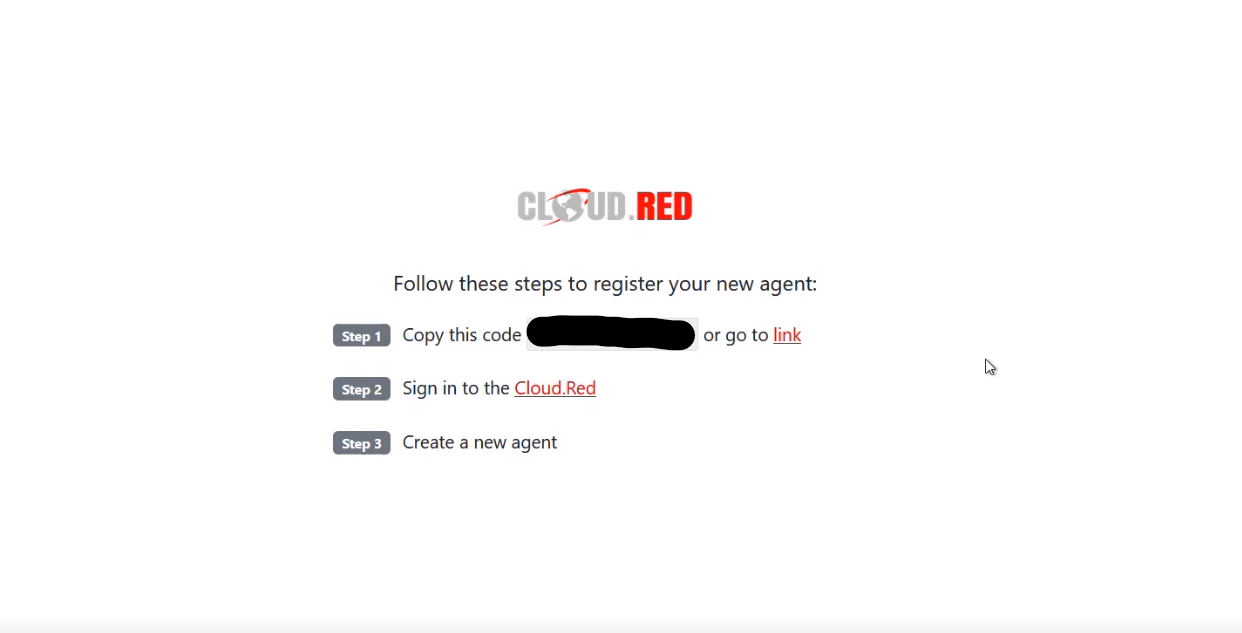
Click the link at the end of “Step 1”.
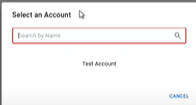
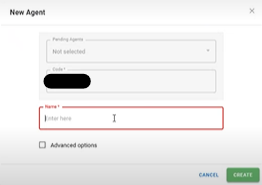
- You will be brought to the Cloud.Red Portal.
- Select your account.
- The agent code will be auto-populated.
- Use the agent name provided to you by your WorldTech IT project manager.
Method 2 - Copy the Code and Create the Agent in the Cloud.Red Portal
Method 2 - Copy the Code and Create the Agent in the Cloud.Red Portal
Copy the code displayed in the middle of the registration page seen in step 1.Go to Cloud.Red and navigate to the agents tab on the left-hand menu.


- In the top right corner, click new.
- Paste the copied code.
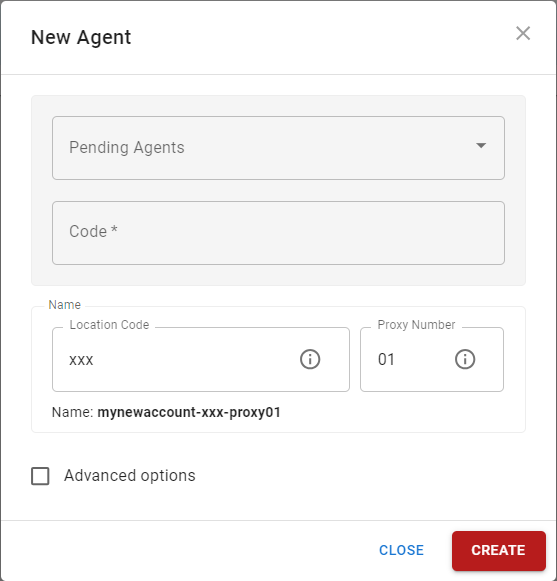
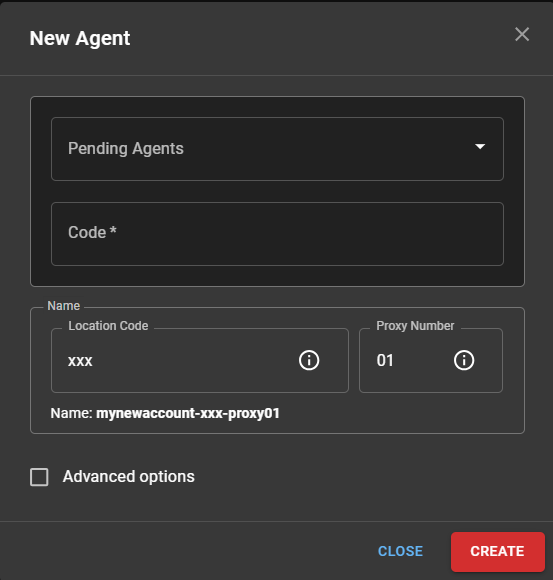
- Use the agent name provided to you by your WorldTech IT project manager.
Please contact WorldTech IT to complete the installation.